So my husband I started our home renovations. We decided to do the smallest room in the house first. We were hoping that by doing so, we would build momentum.
I got a bit panicky the first day we started. I was overwhelmed and frustrated that we didn’t just get a brand new build. A week later, it was a bit better. My husband removed all the stucco from the ceiling, which came off pretty easily with a plastic scrapper and some water.
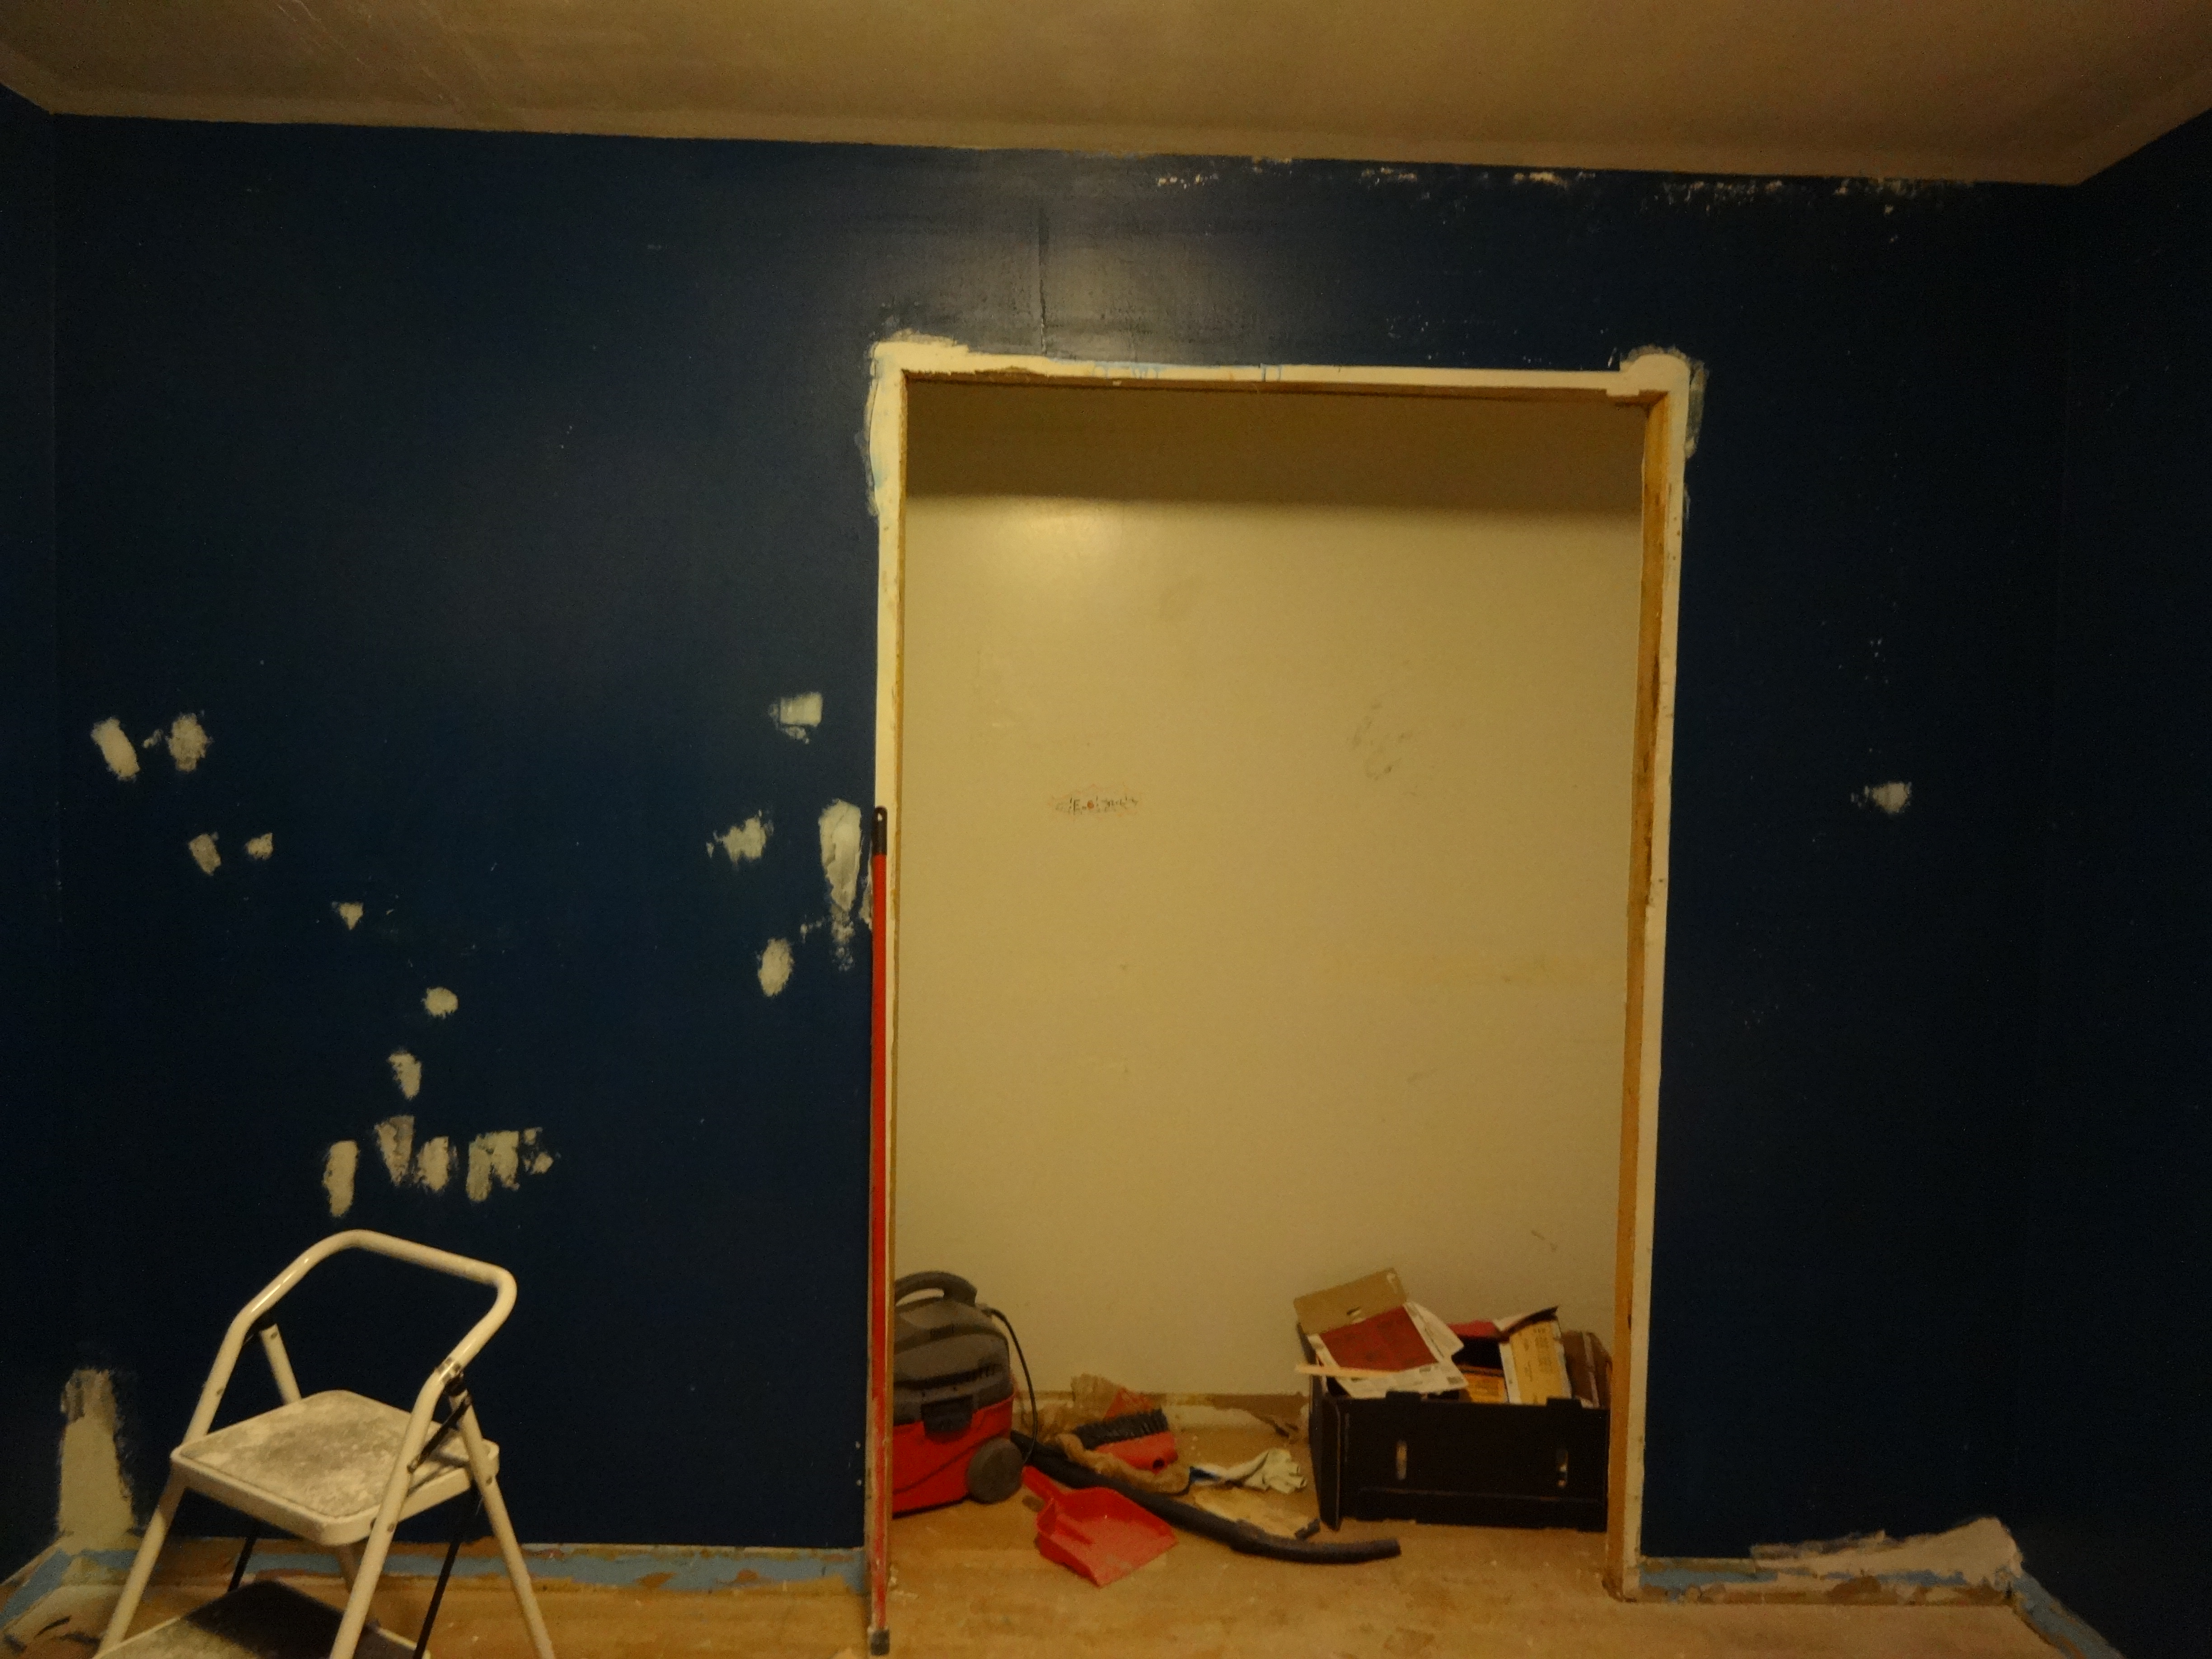
So here are some before pictures. Walls have been washed with TSP, holes have been patched up and walls have been sanded. And trust me, it’s not as nice as it looks in the photos:
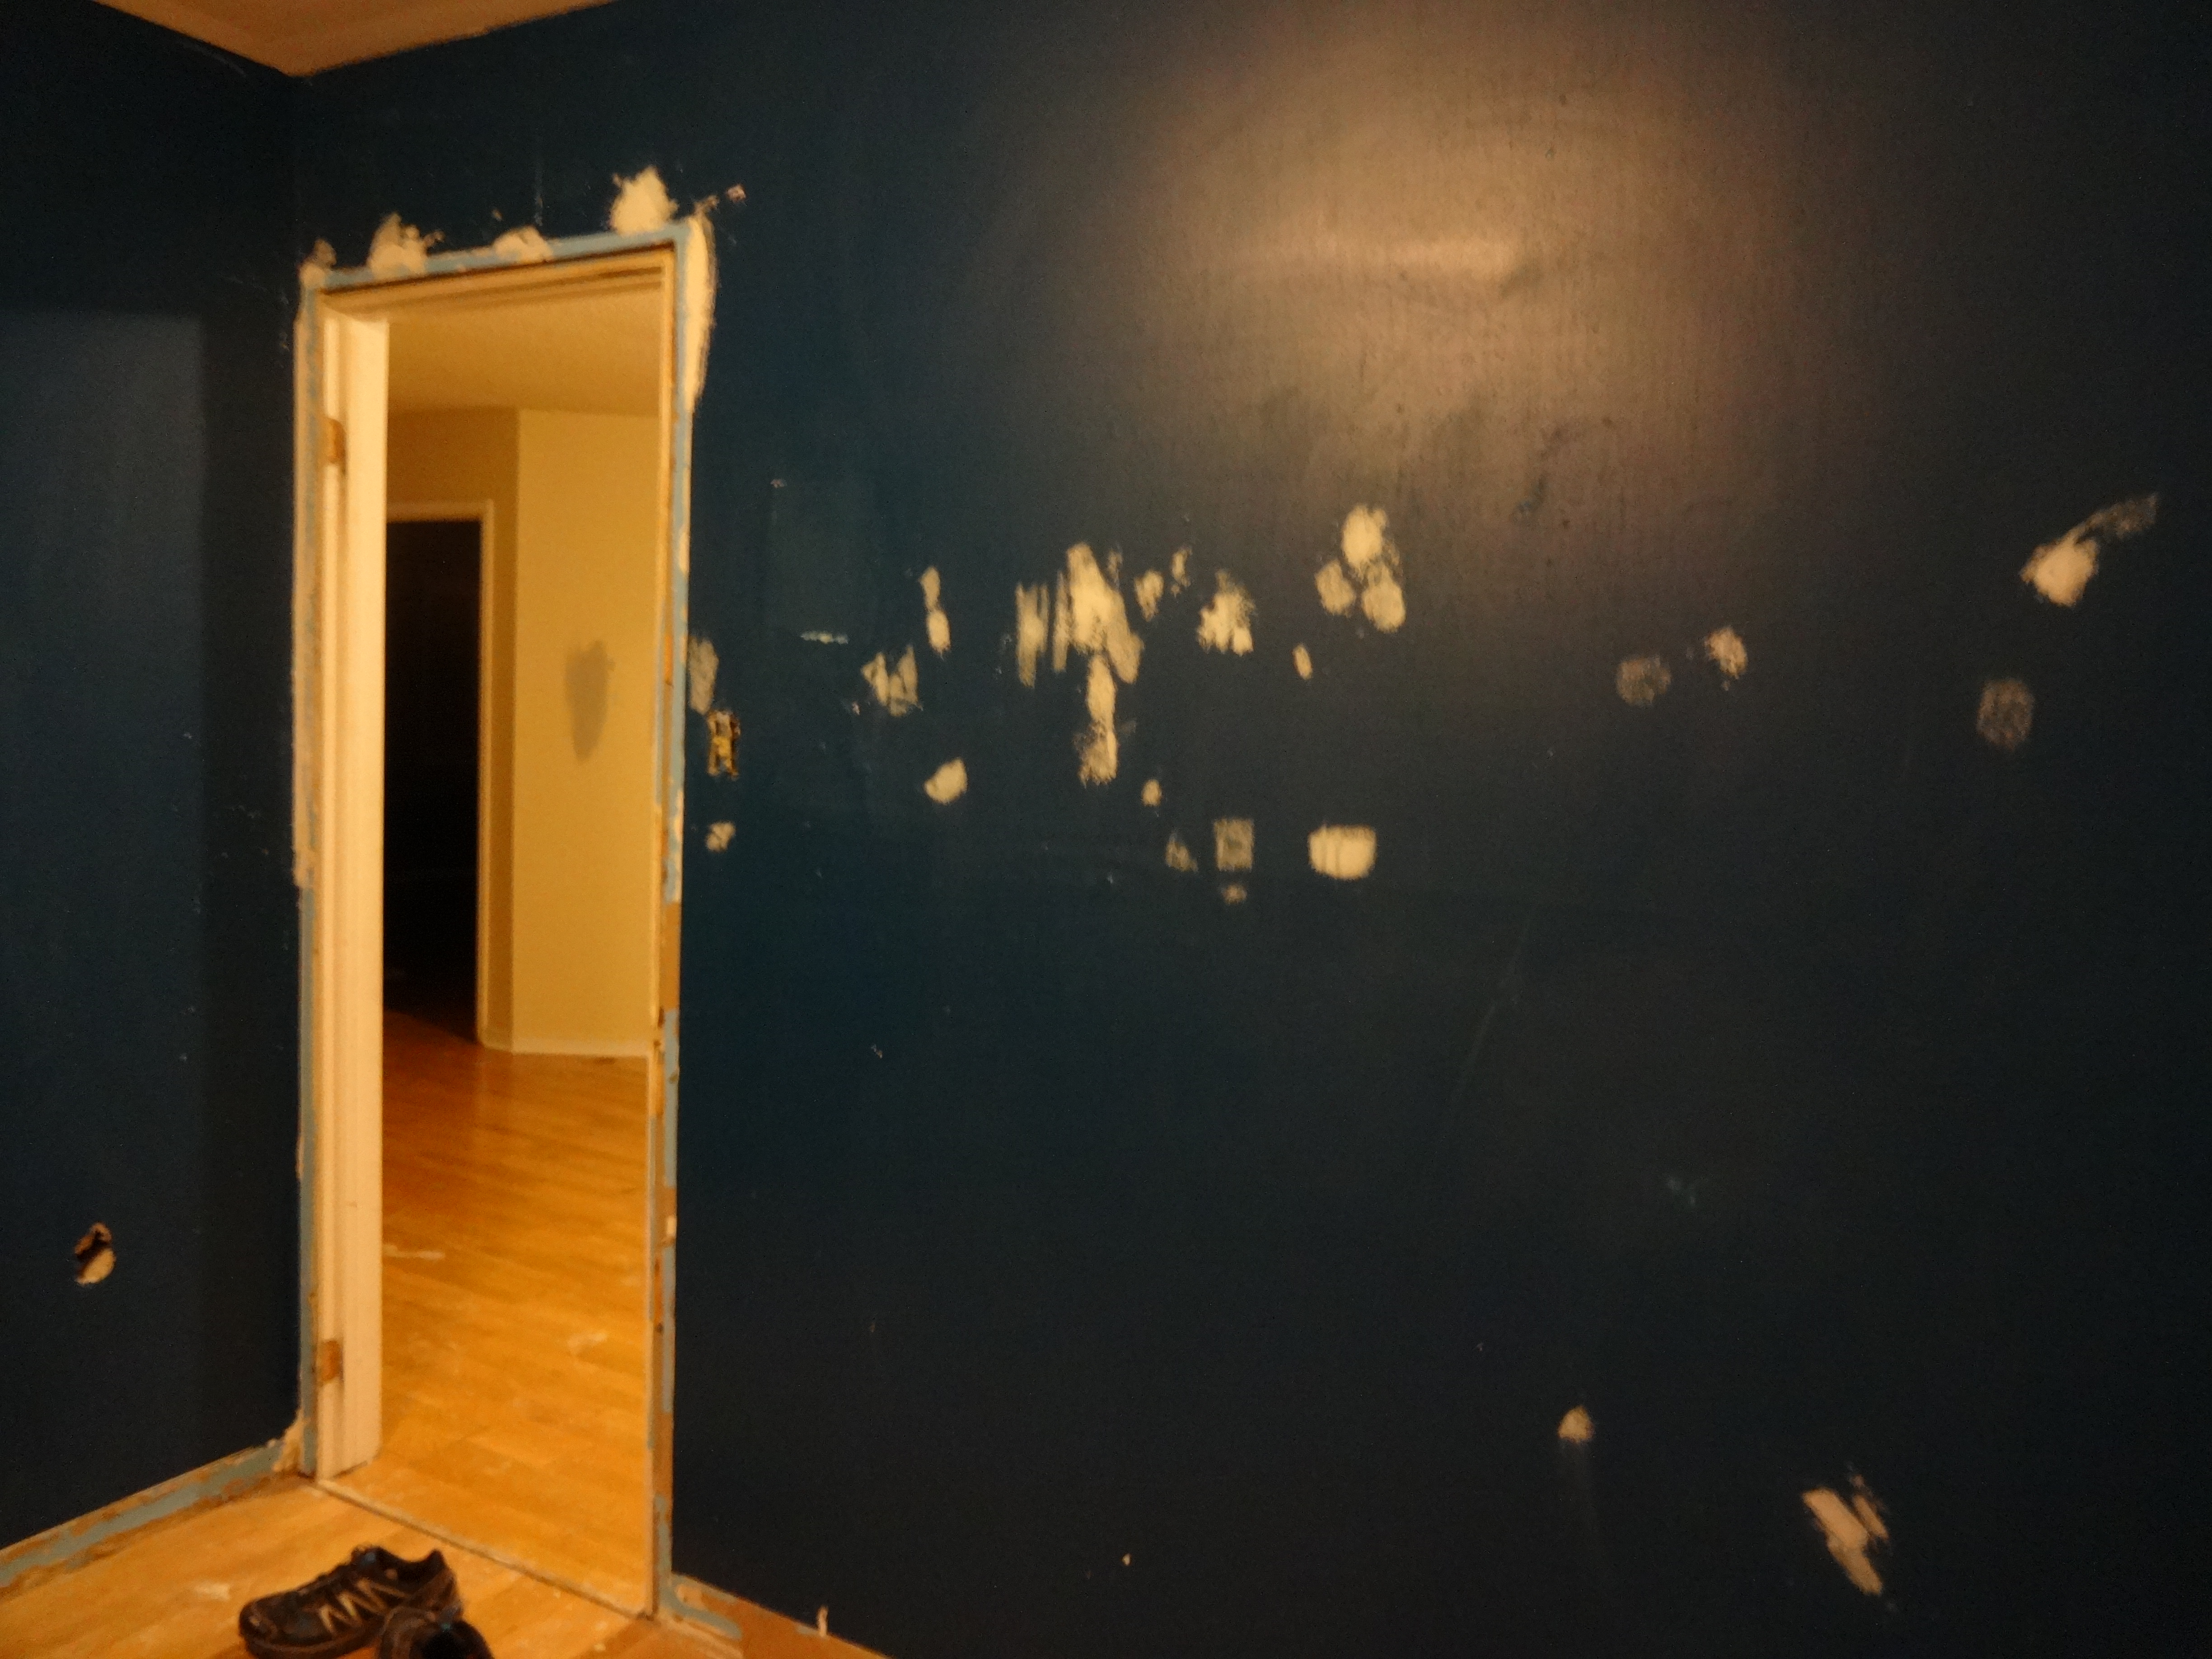
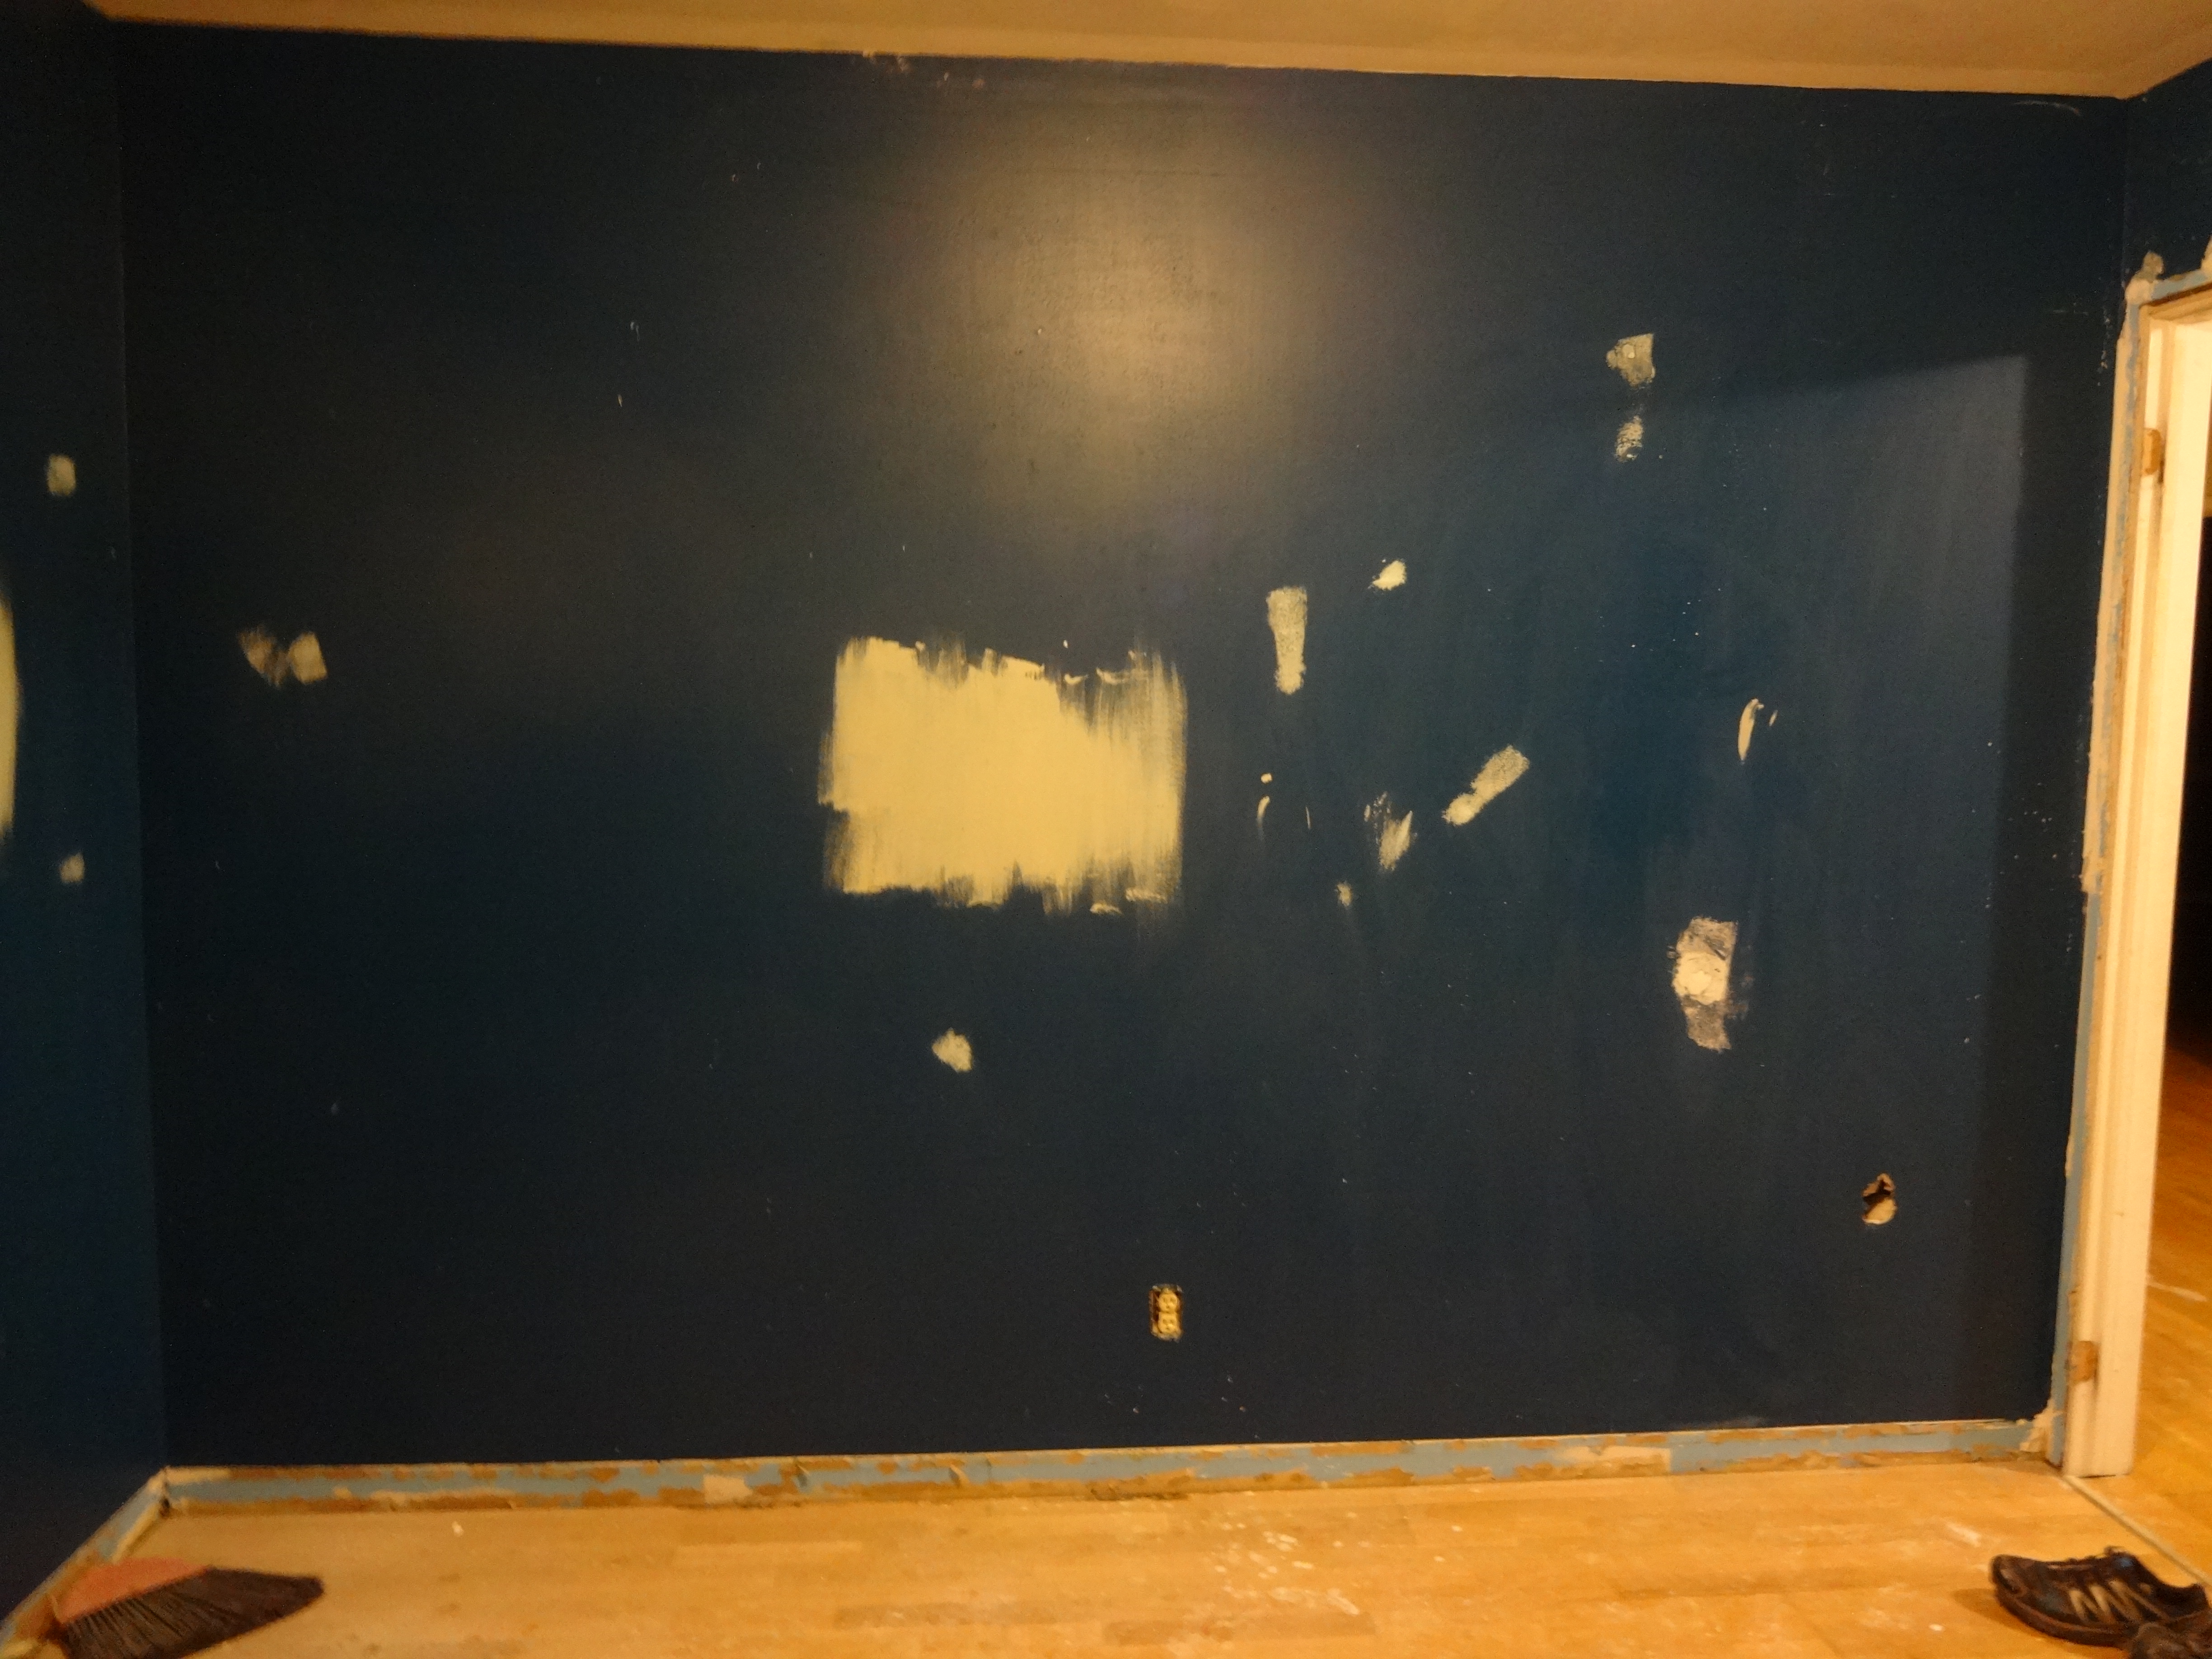
Bedroom 1 – Before. Patched up holes.
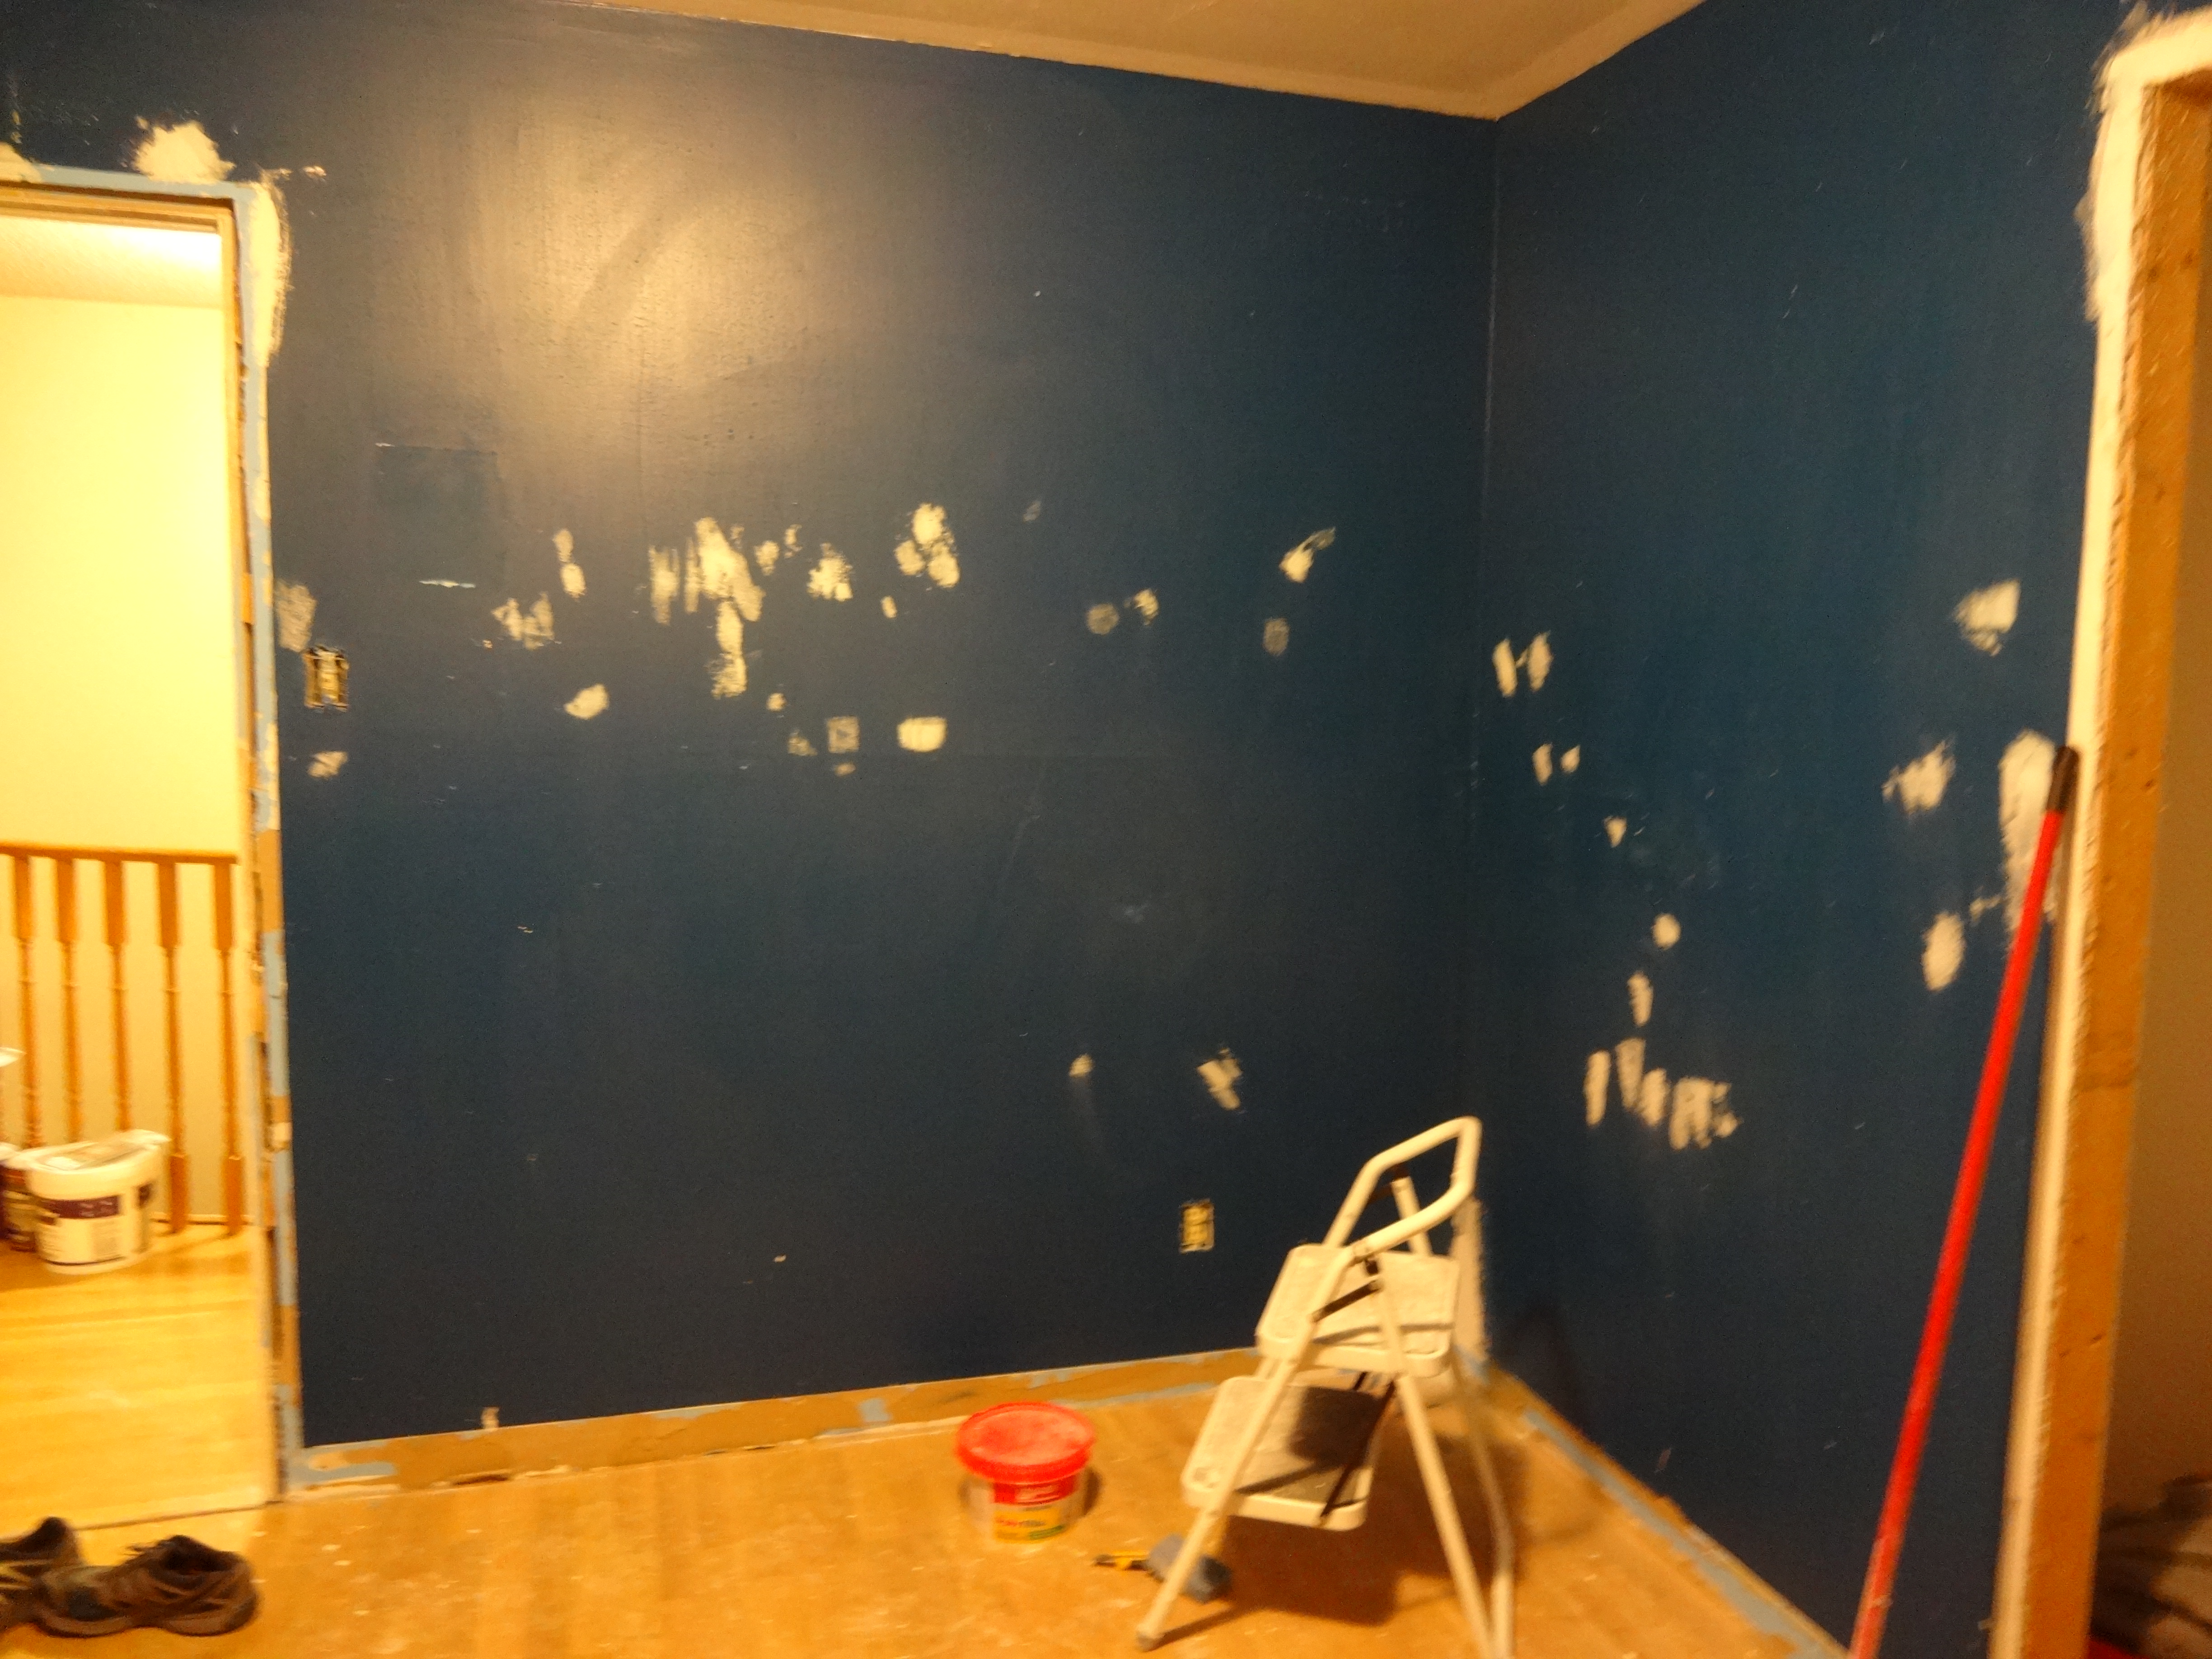
Bedroom 1 – Before
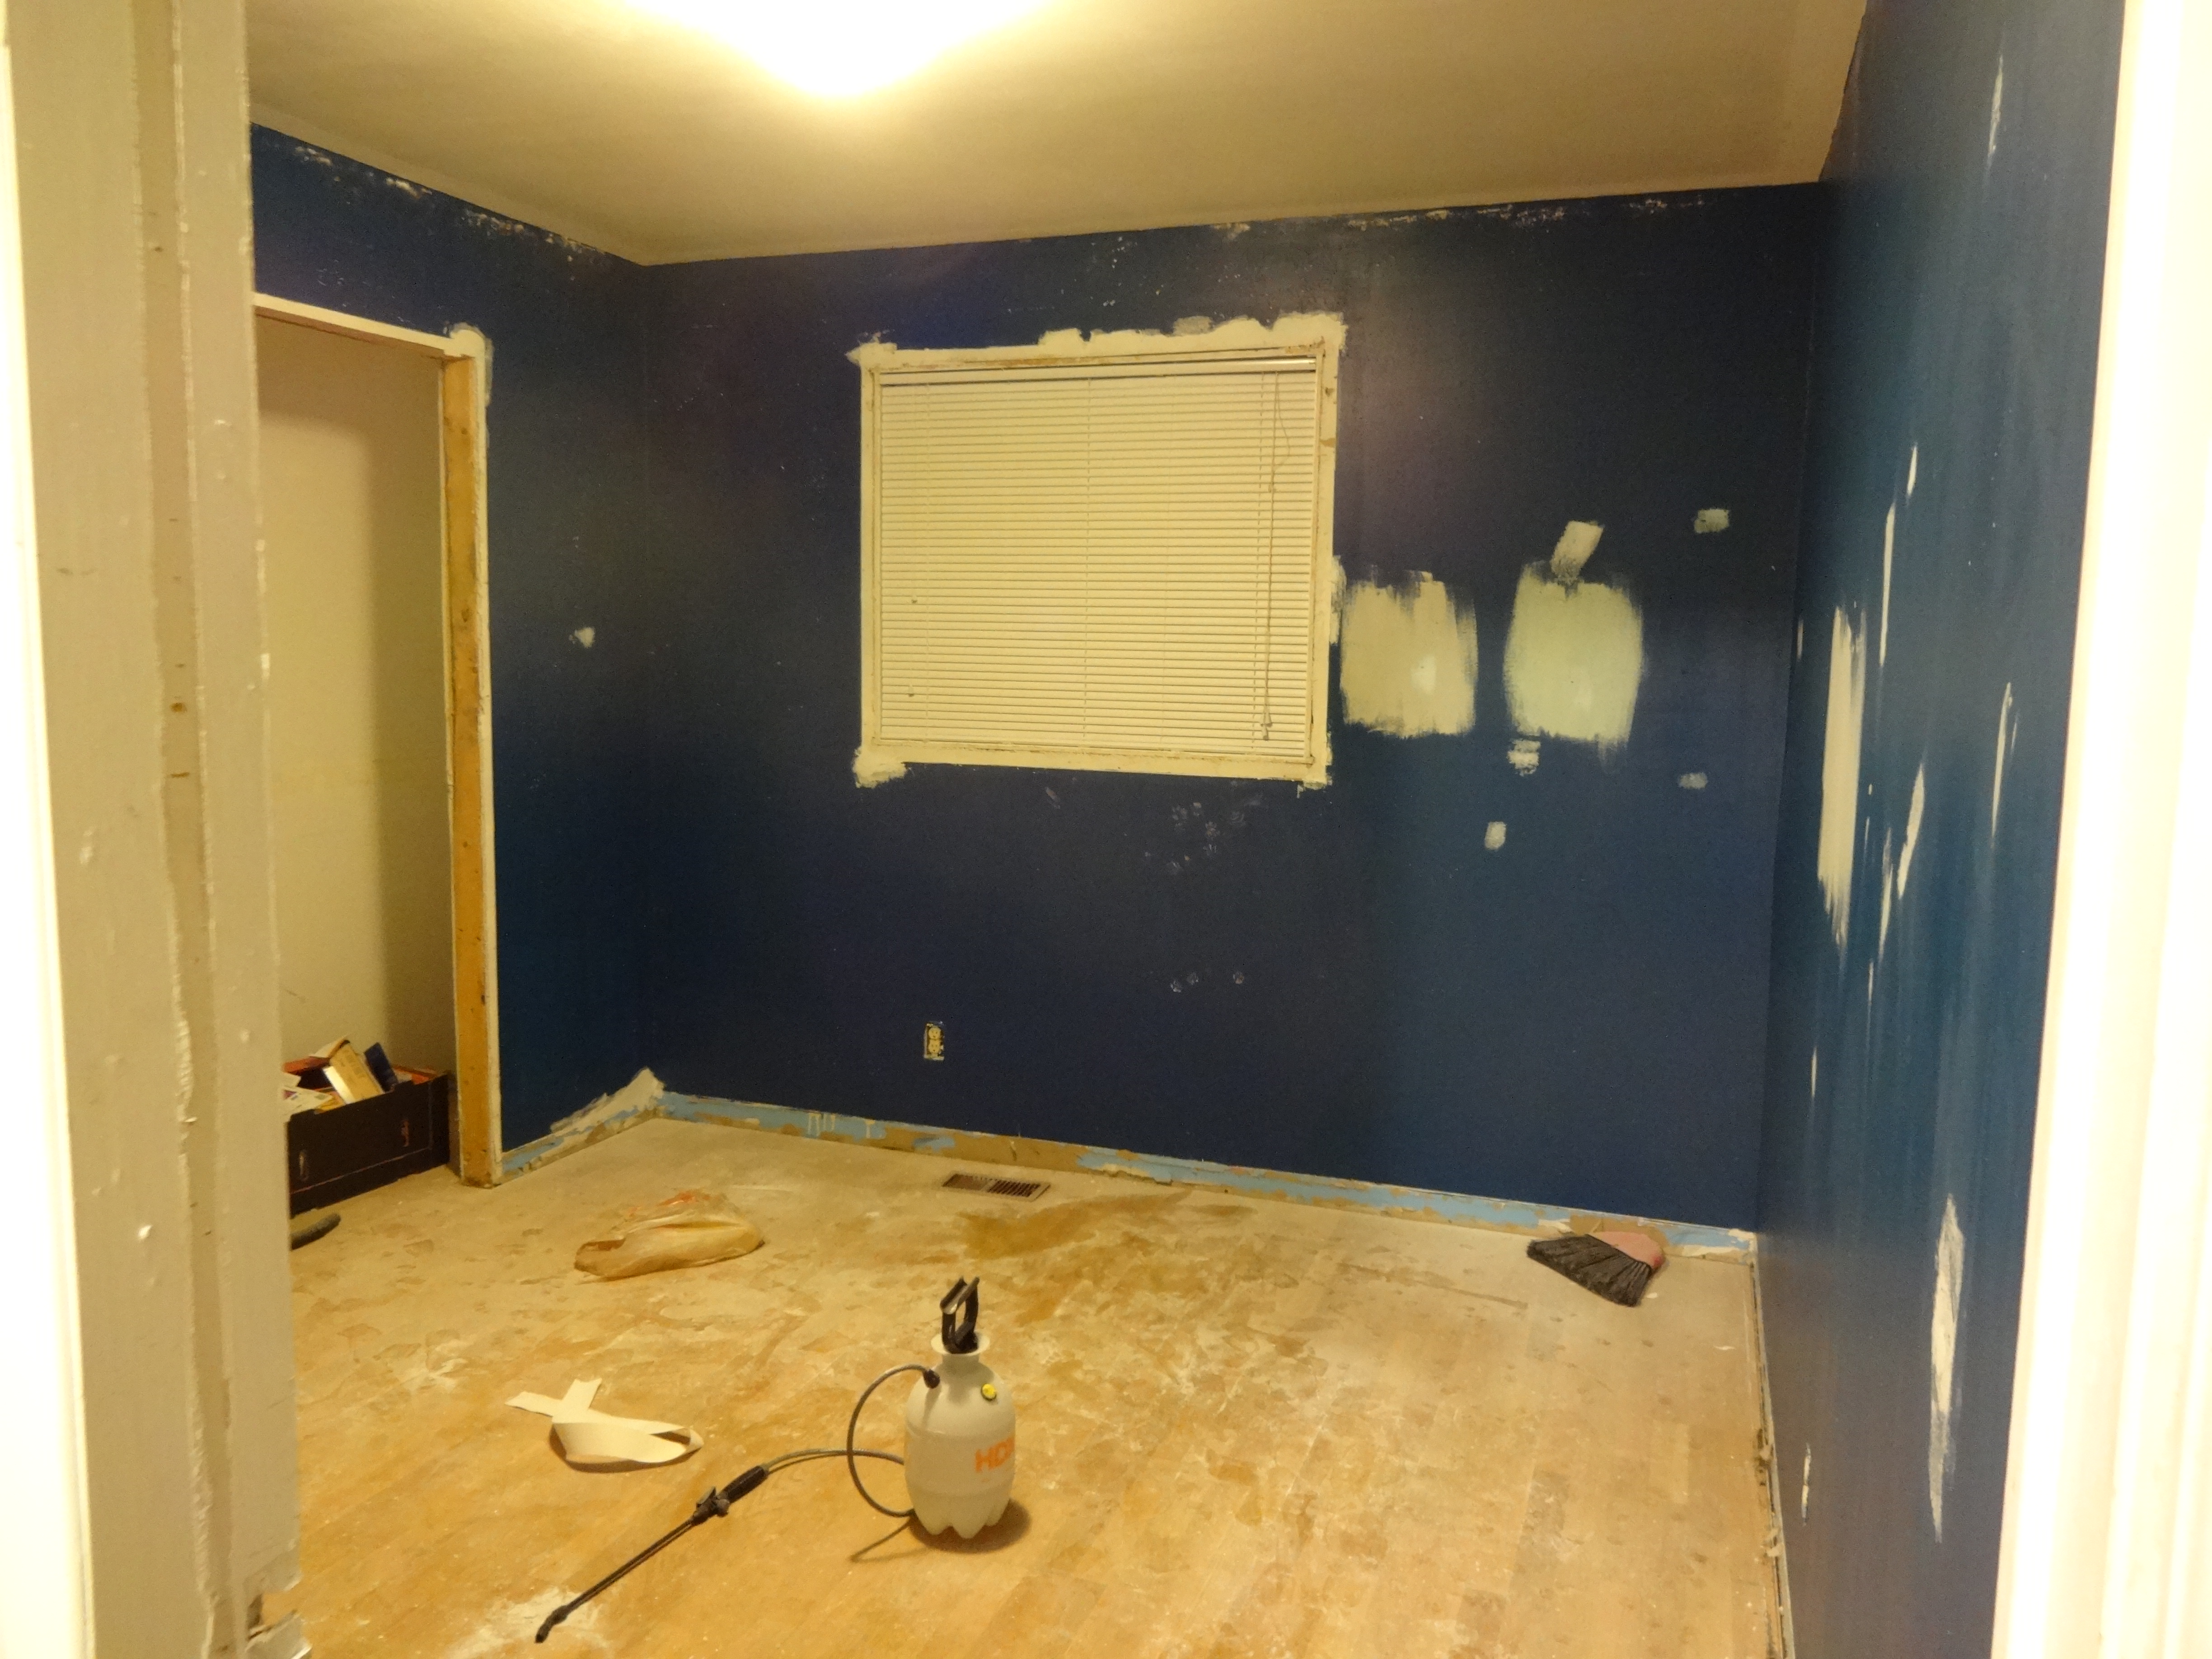
Tested some paint colours. Hard to tell which one looks nice since the dark blue really takes away from them.
Below are our ceilings. We removed the stucco and patched up some of the imperfections.
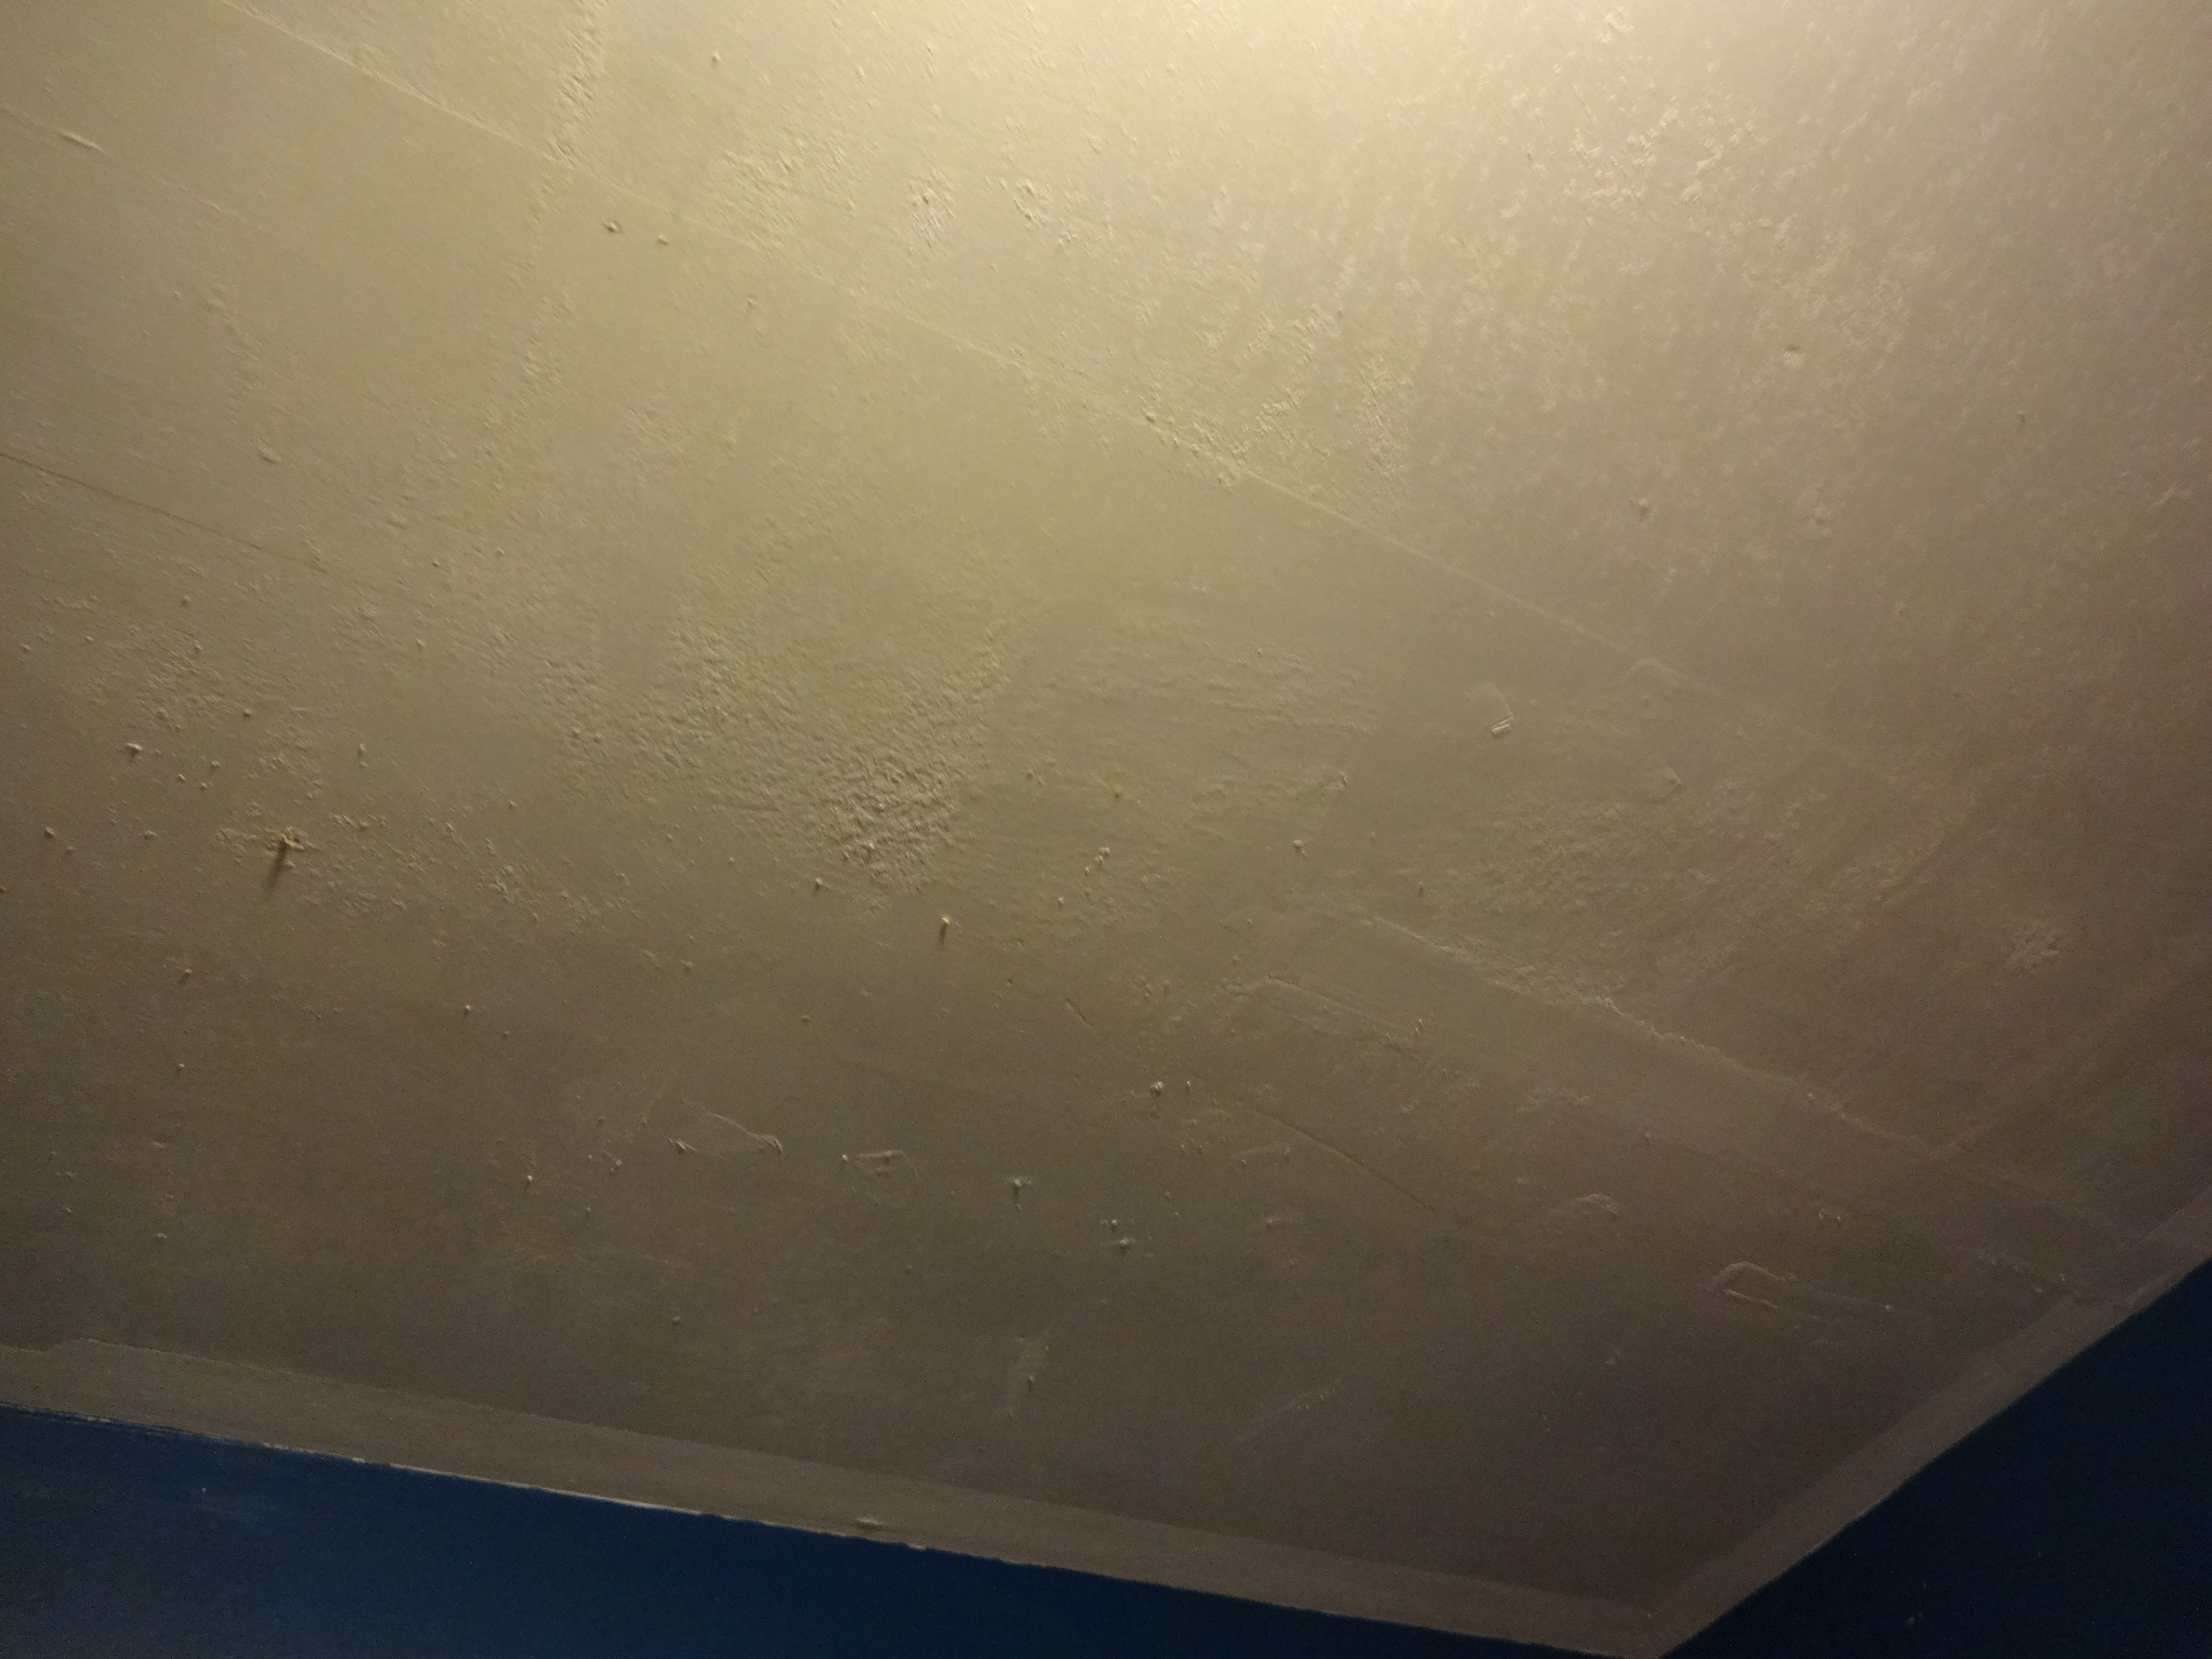
This part of the ceiling needs more sanding.
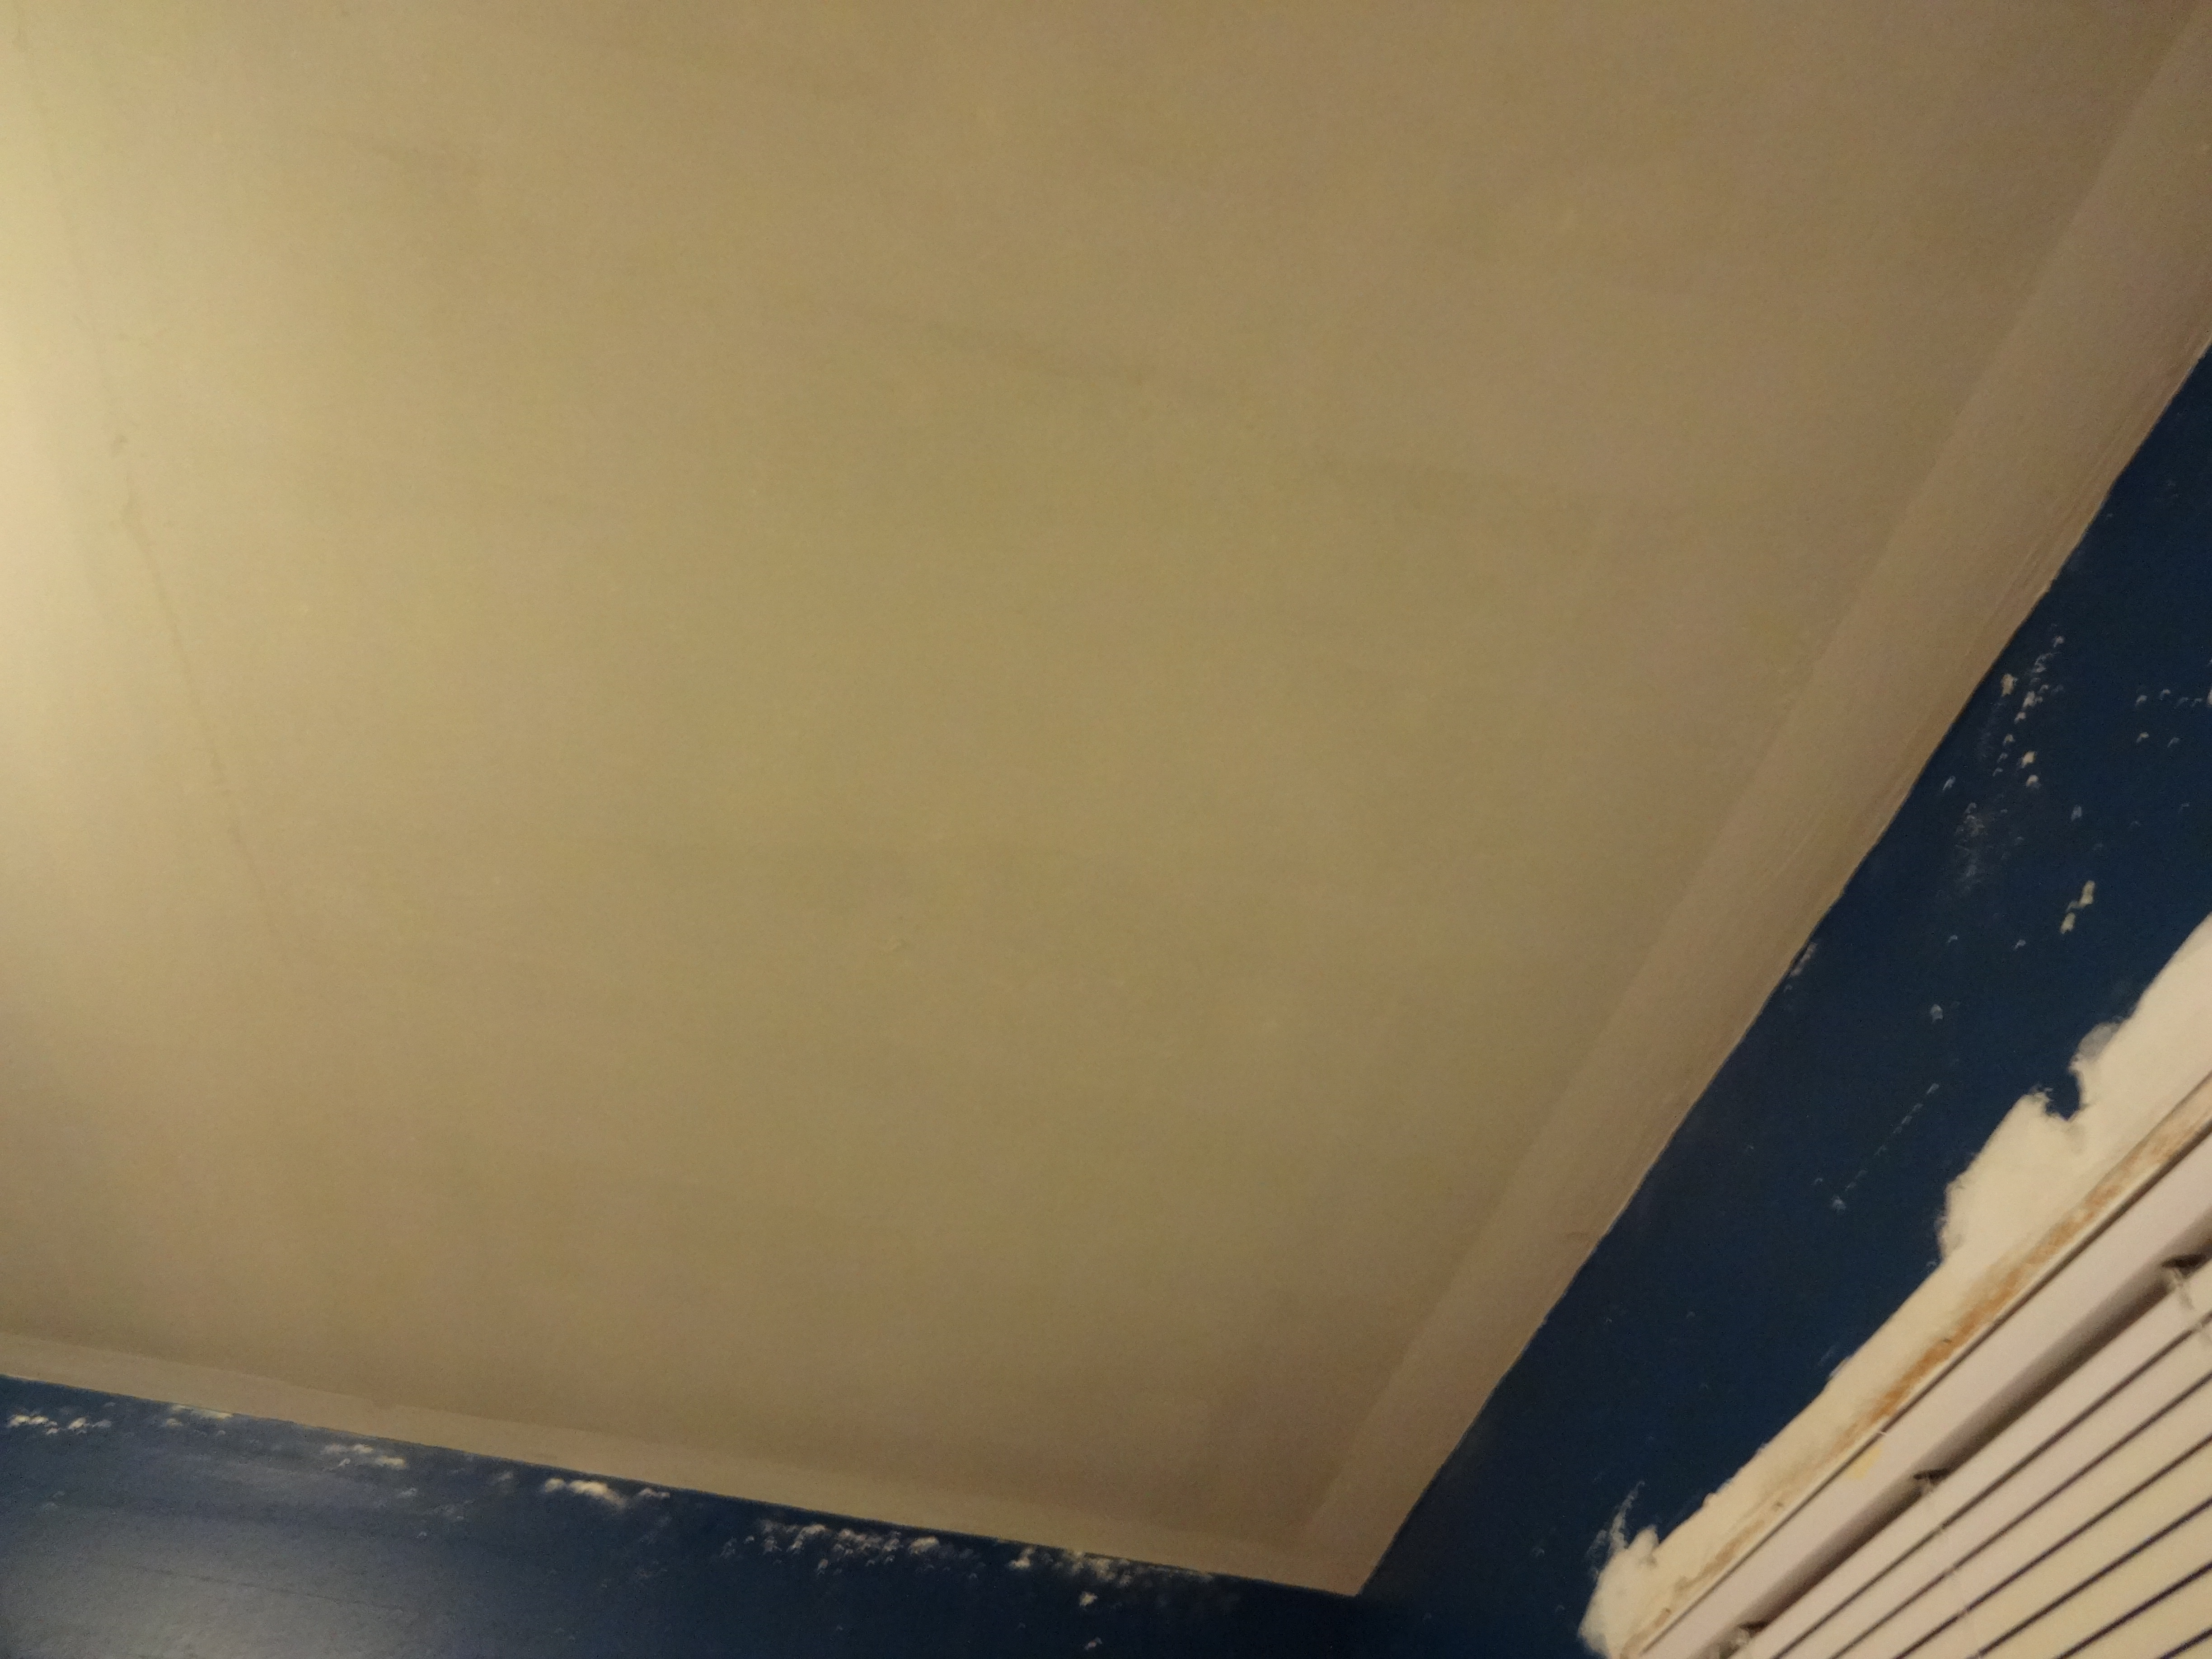
This part of the ceiling is perfect and smooth.
We decided to take a shot at using a gel stain to stain our engineered hardwood oak floors. Because they’re so thin, we’ve been told to do a light sand, enough to remove the finish. The downside to this is that we might end up sanding too much. But I think I am willing to give it a shot anyway. Anything is better looking than these natural oak floors.
The photo below shows how the gel stain would look on an un-sanded and sanded floor after several coats. We used General Finishes Java gel stain rather than a regular type stain. I read a lot of positive reviews people have had when using it to update their cabinets and their photos look beautiful. I love the colour and I think that if it does work I will be a very happy person. So far I have not been able to find a blog that used Java Gel Stain to stain flooring.
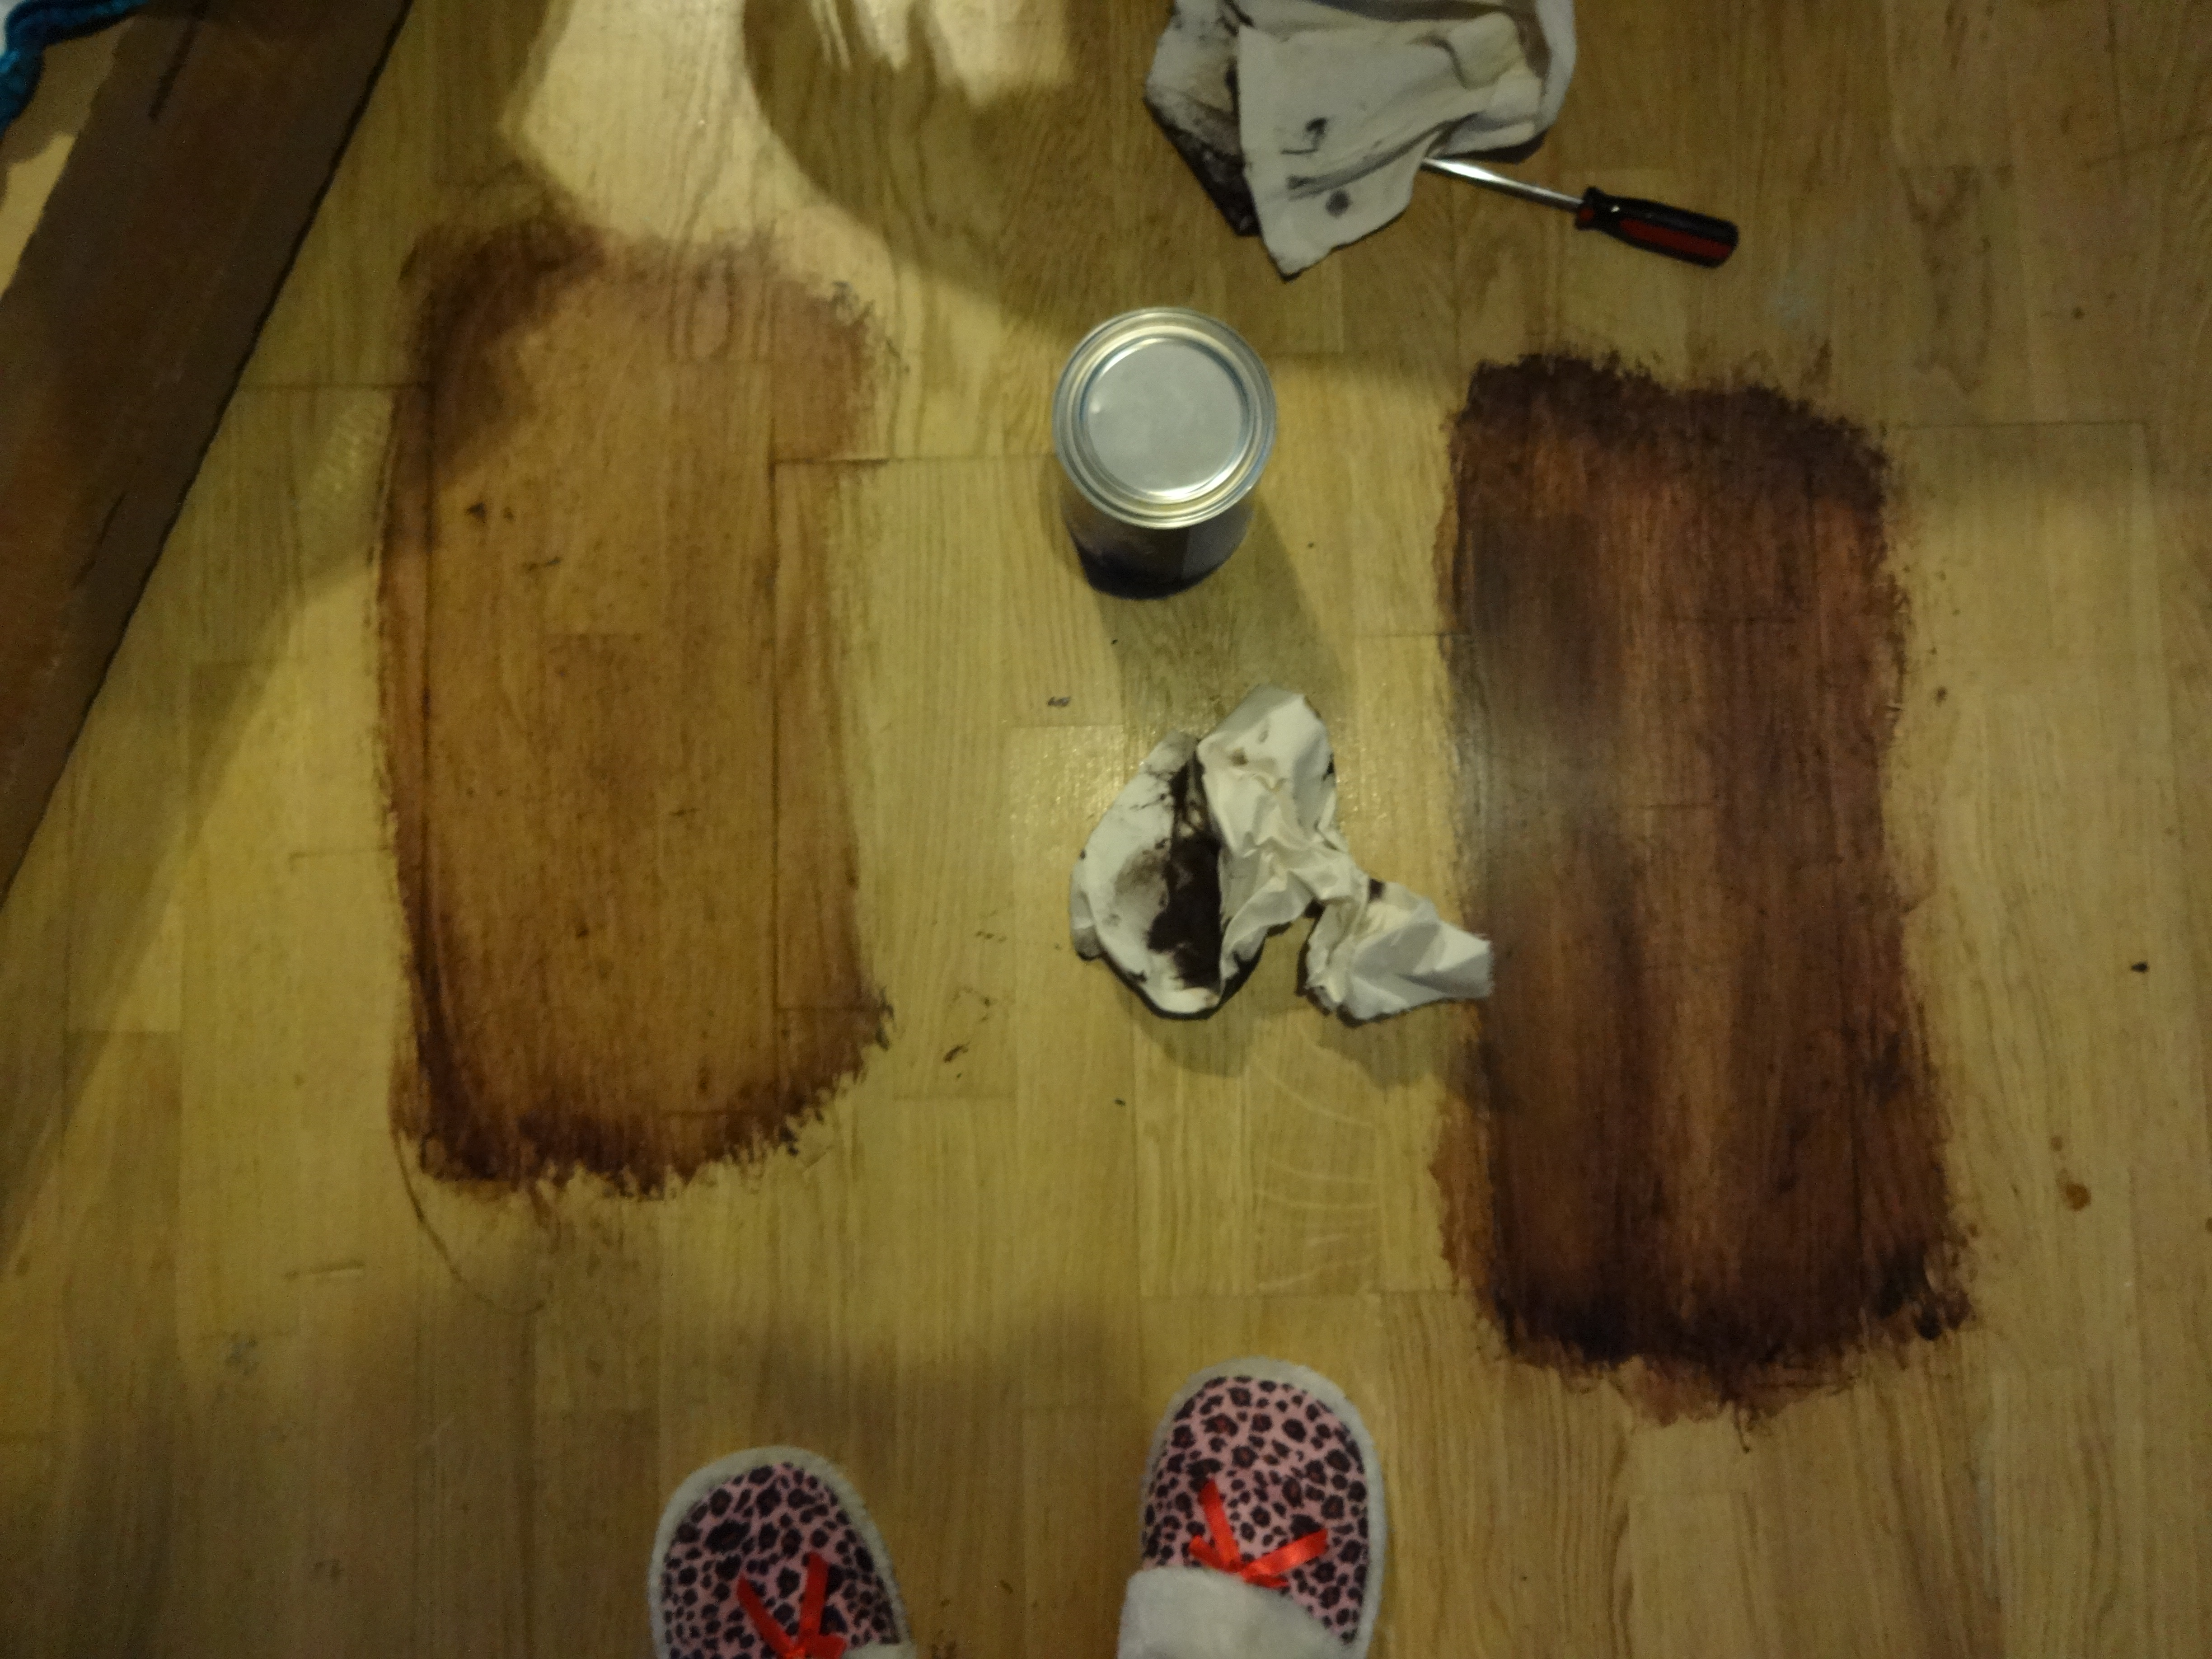
Coat 1: On the left I did not sand the floor, and on the right I did. As you can see it looks like the floor soaked up the colour much better on the right. I’m worried I may have even left it on longer on the right so it may be just another reason why it’s darker. I will let this sit for 24 hours before proceeding to apply another coat.
Coat 2: Was a bit harder to put on. I didn’t sand between coats like I was suppose to.
Since this stuff is so expensive, I may go for Varathane’s Dark Walnut gel stain.
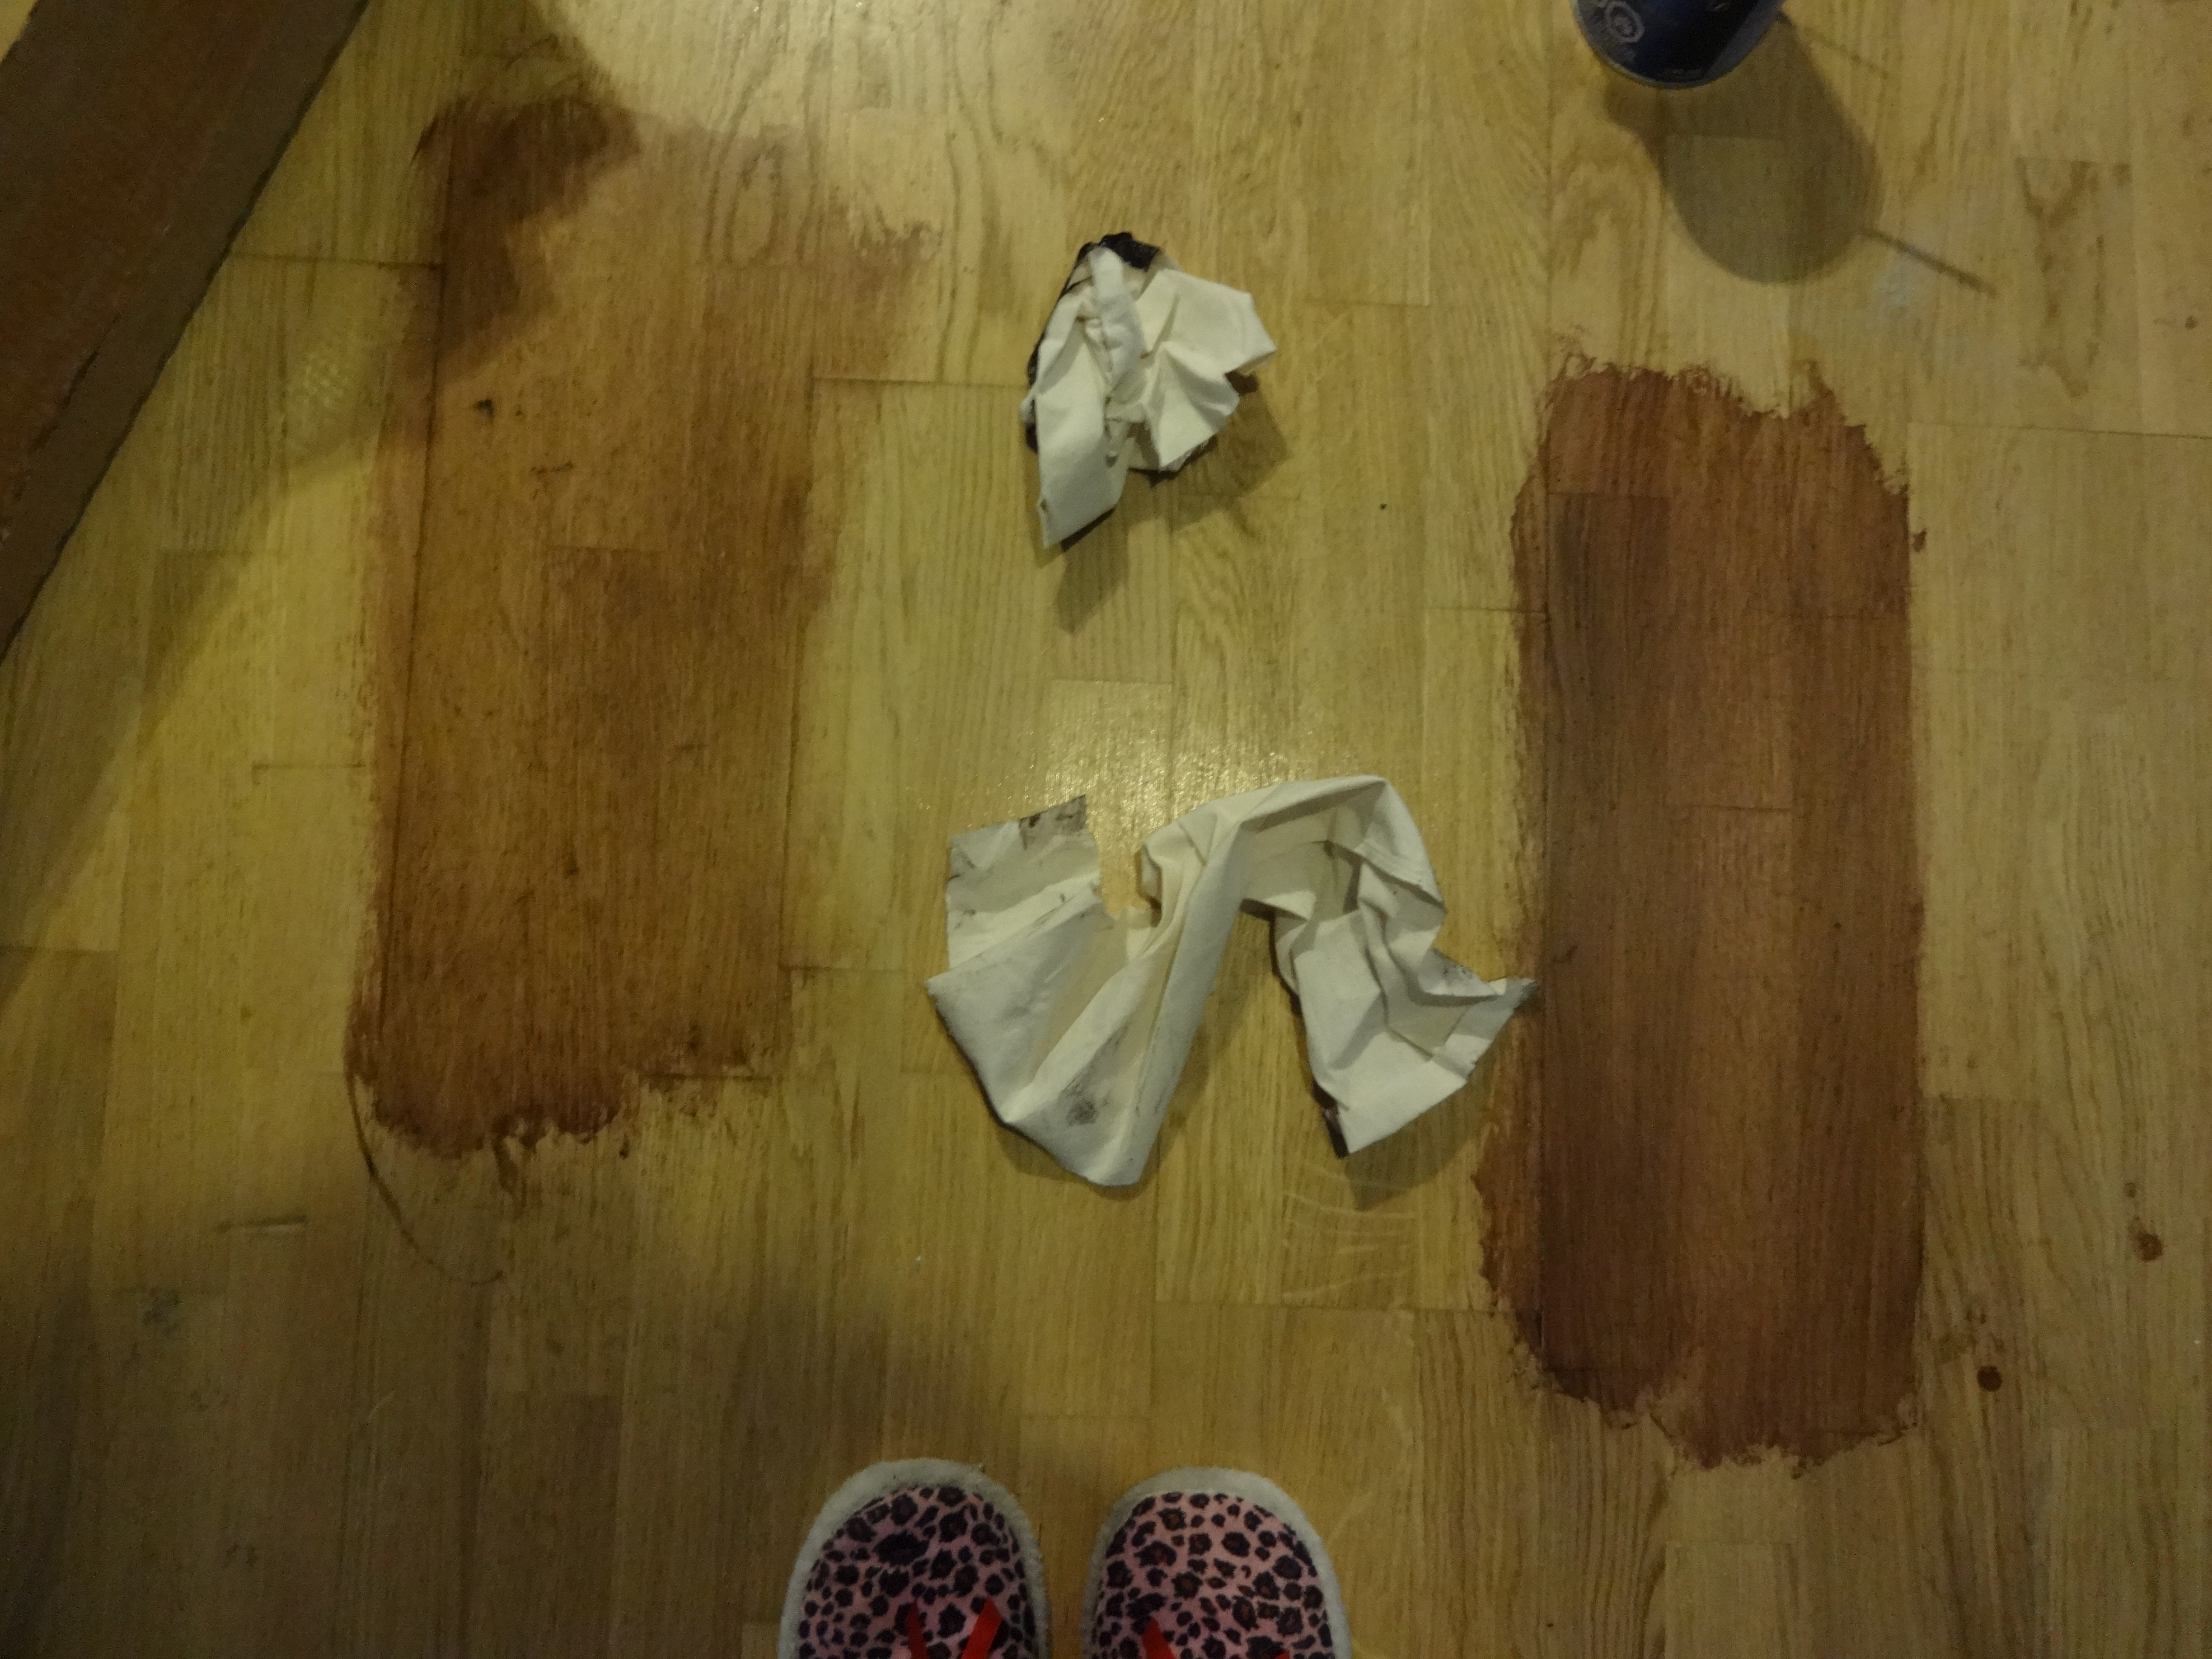
General Finishes Java Gel Stain – Coat 1. Un-sanded (left) and sanded (right).
Second Coat