
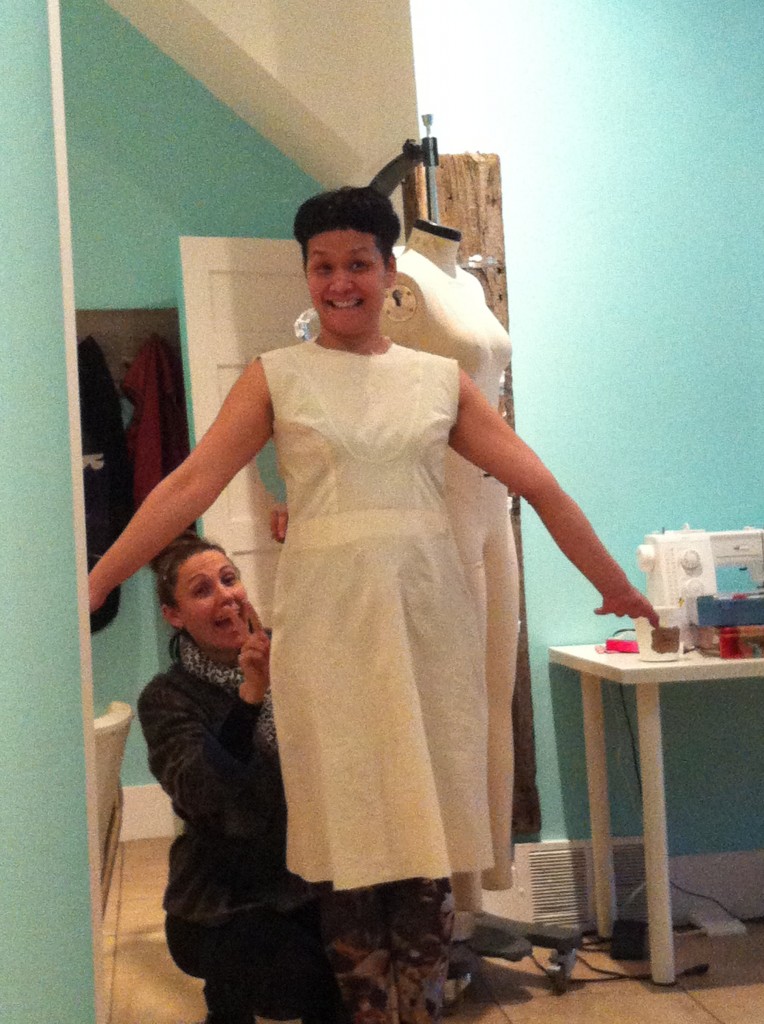
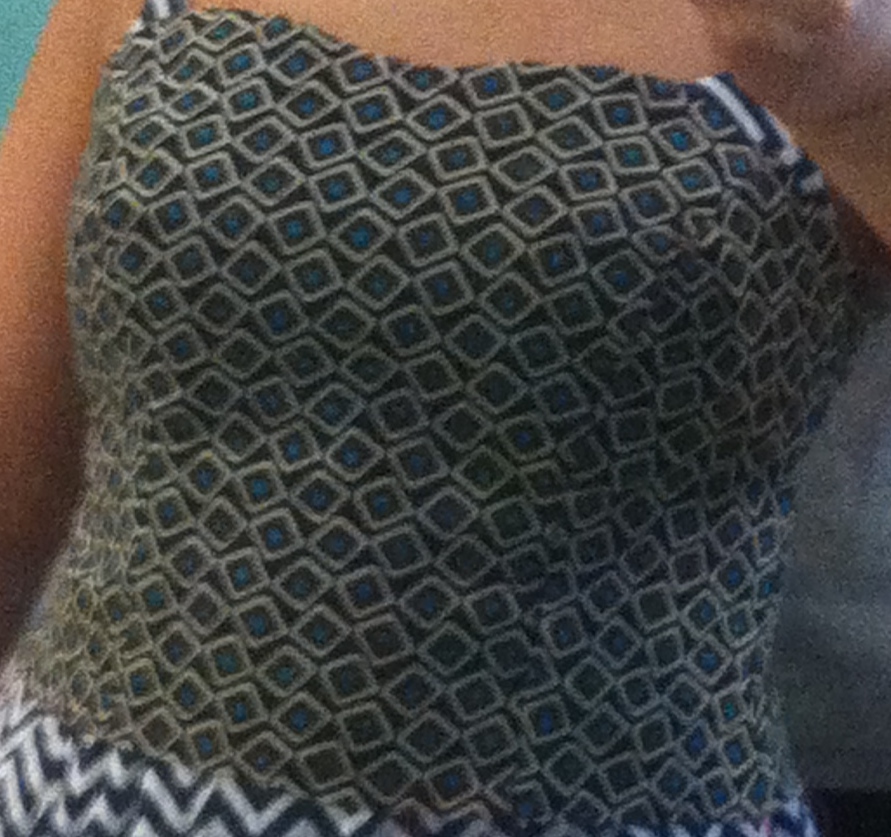
my muslin fitting (above) at the make den.
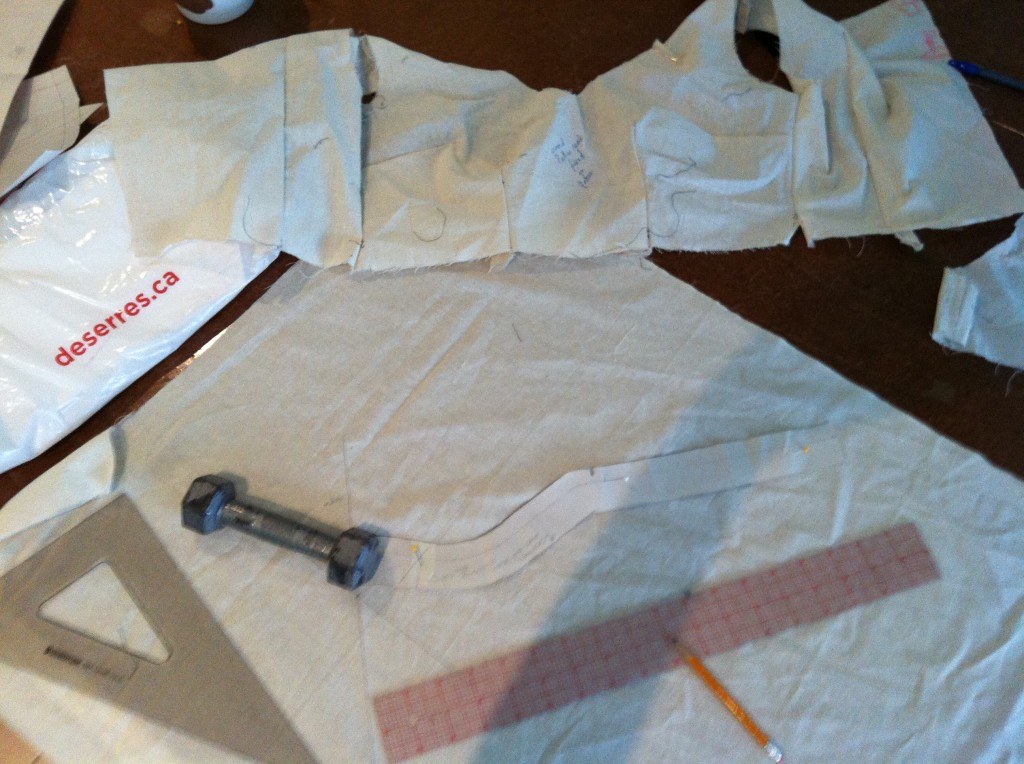
Step 1: Cutting out a muslin
In the picture below, I am cutting out a band that I intend to use for my dress. The muslin for one of my bodices is the item at the very top. Since it was completed prior to creating this blog, I do not have any images of assembling it.
Step 2: Fitting a muslin
The next step is to fit your muslin before cutting out your good fabric. This way you can fix any issues and make the necessary changes to your pattern before cutting out it out on the nicer (more expensive) fabric. My teacher, Irene Stickney, owner of The Make Den below.
Step 3: Cutting out the good fabric
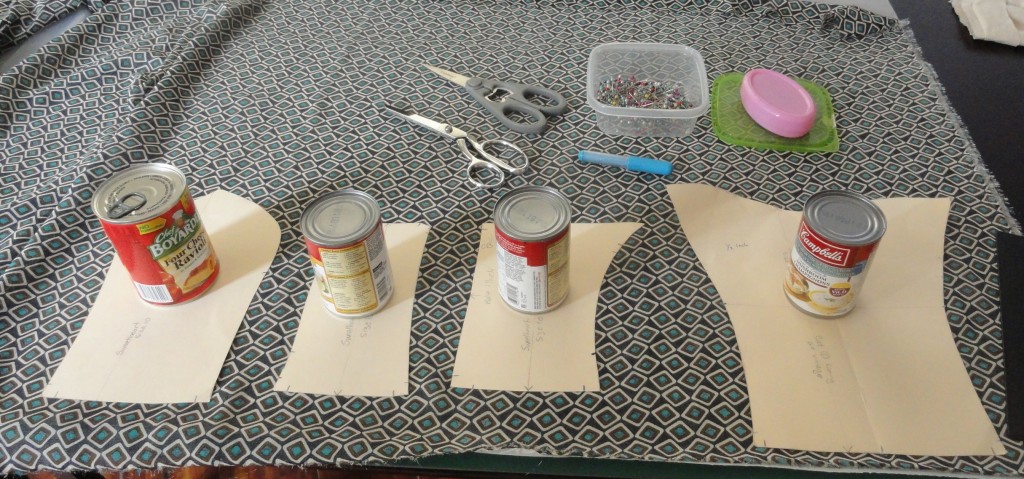
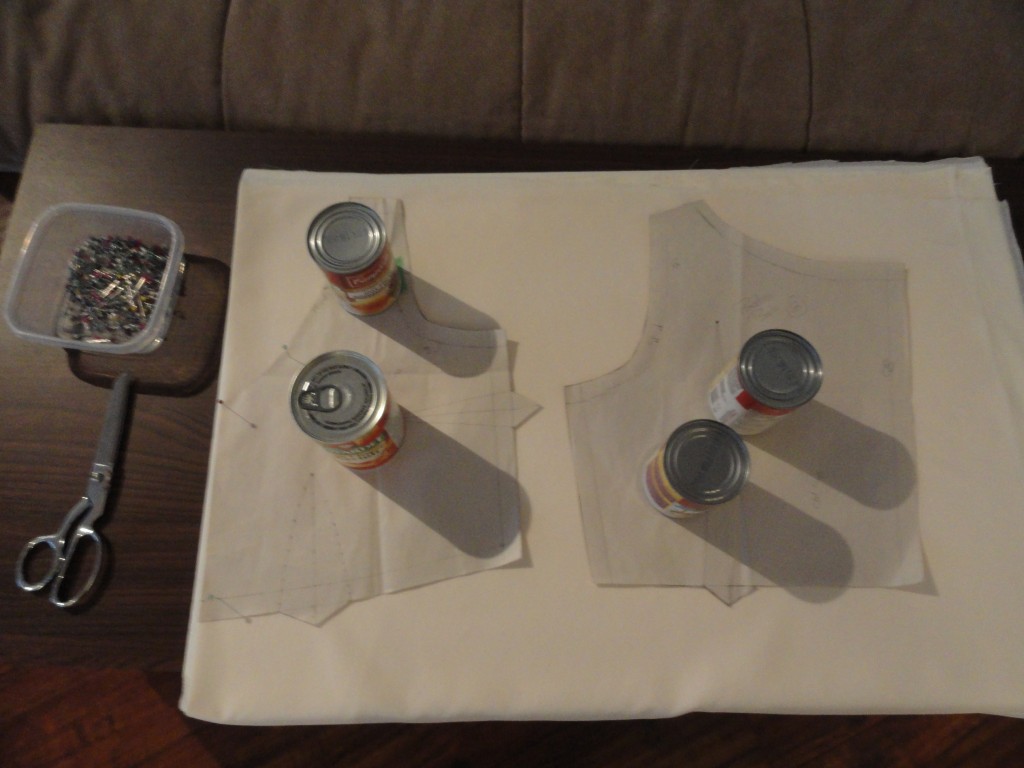
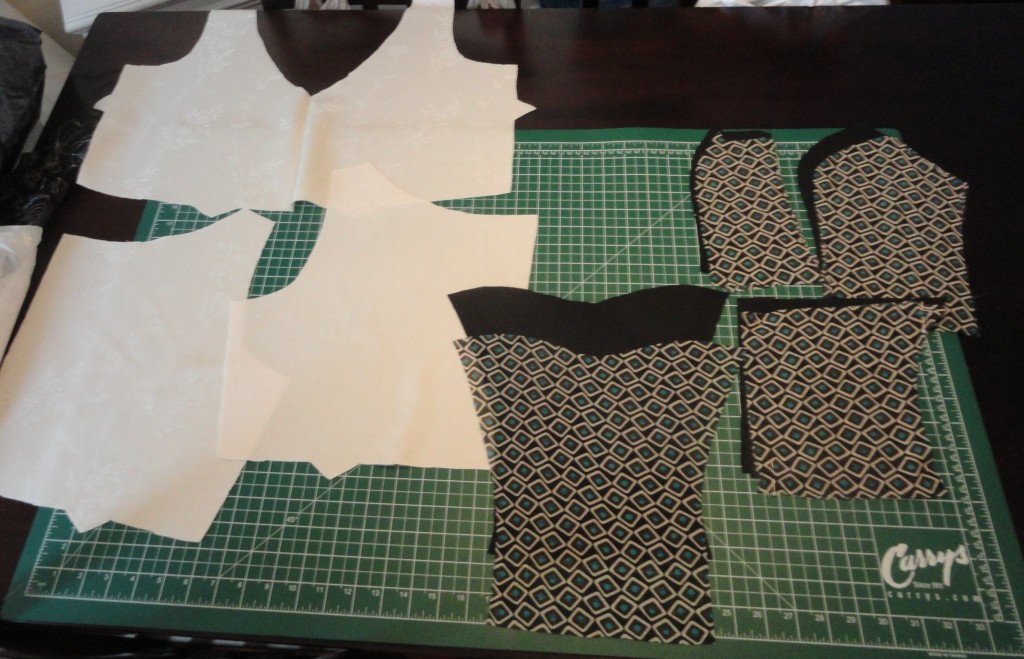
Once you are happy with the muslin fitting, it’s time to start cutting out your good fabric. I am making two dresses and so I have two sets of patterns.
Tip: Since I am using chiffon for the dress with the sweetheart line, I found it helped to use soup cans to push down on the pattern and fabric and to cut around it rather than to trace it out and then cut it.
Here is the good fabric cut out.
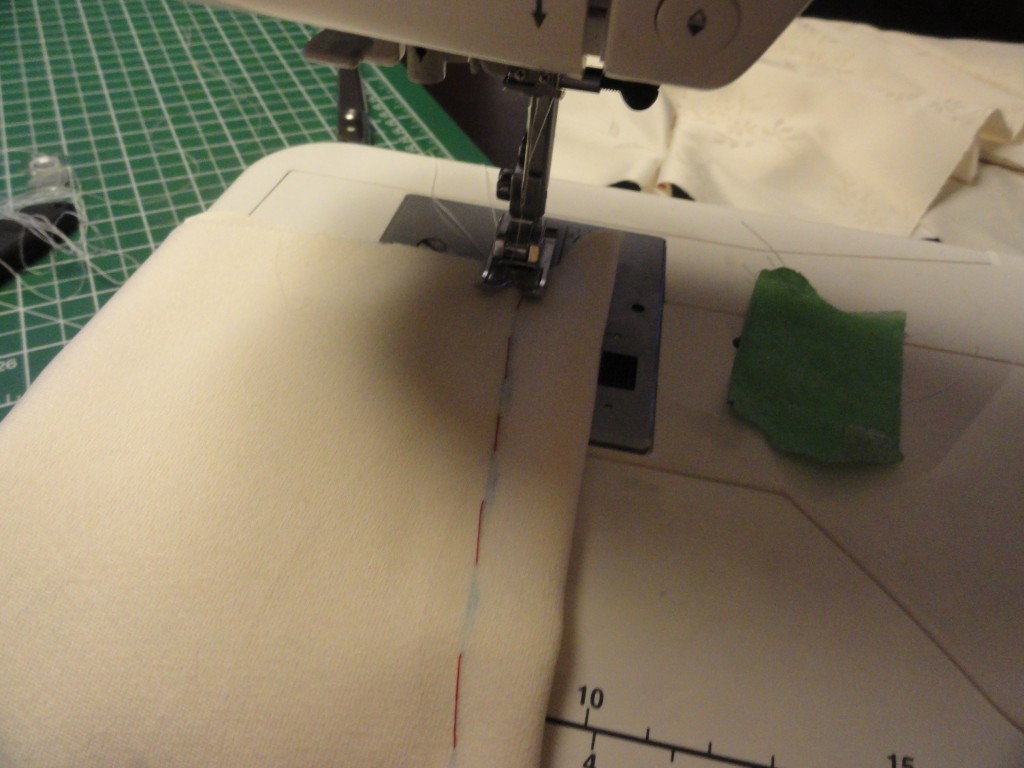
Step 4: Basting
For my white dress, I basted in my darts. For my dark sweetheart dress, I basted my chiffon fabric to my cotton fabric so it doesn’t mo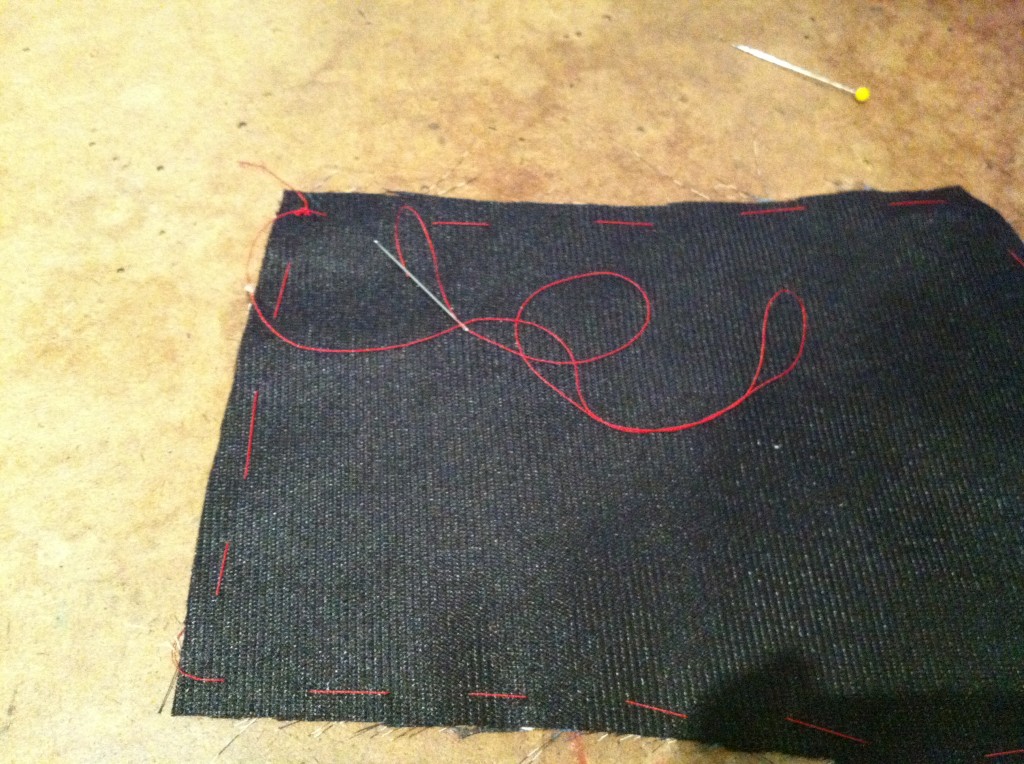
Step 5: Assemble your bodices
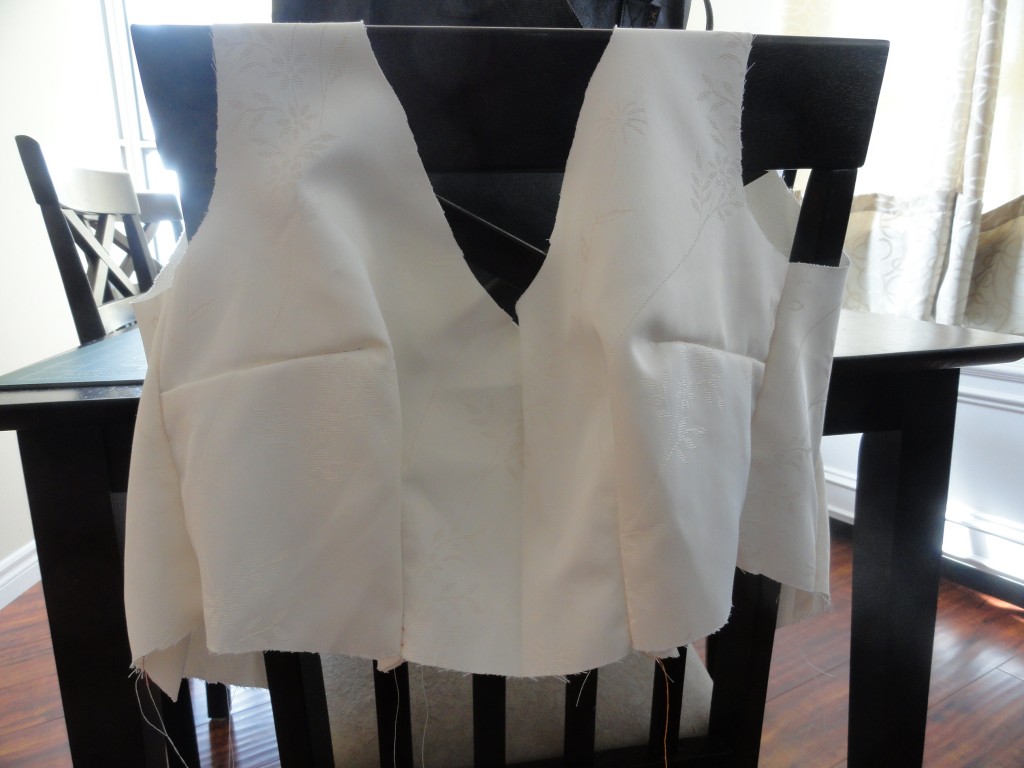
White dress - Sew in my darts and assemble.
Once you iron out the darts and seams, it will look a lot better.
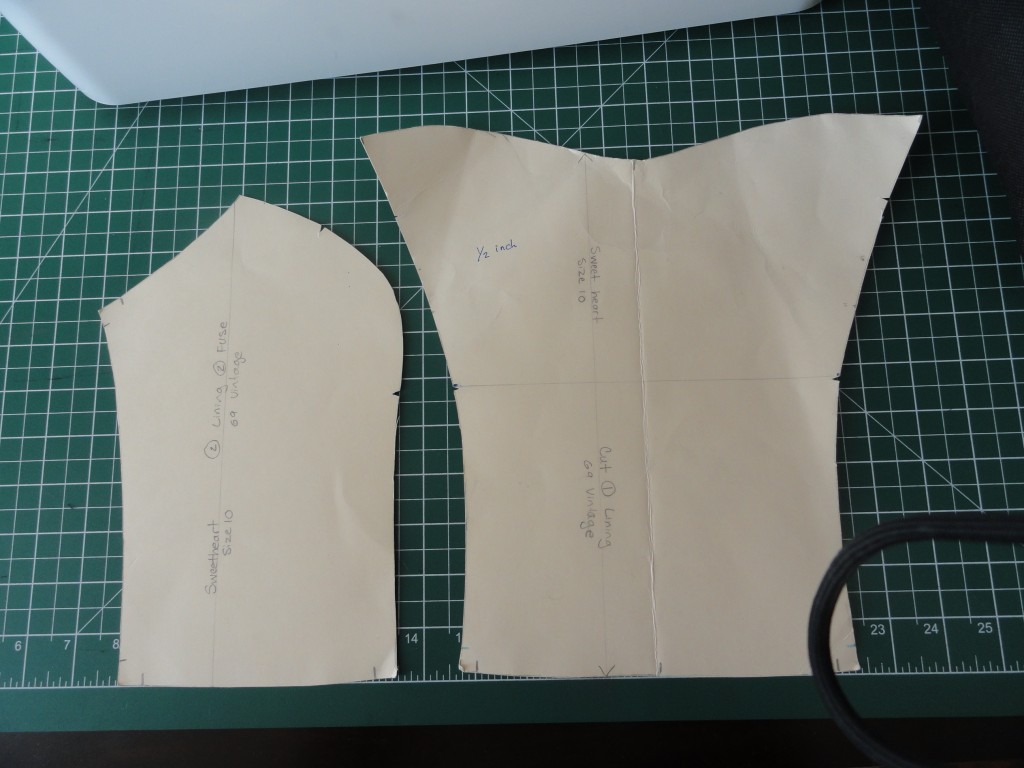
Sweetheart dress – This dress requires a princess seam, and so it requires a bit more work during assembly. If you look below, you will notice that where the pieces are to be sewn together, the ones with the rounded edges (concave) are a bit longer than the convex edges.
Notice: The pattern piece on the left (concave) is about half an inch or so longer than the one on the right (convex). In order to ensure the notches line up, my teacher taught me to use the gathering technique. I will show this in a later post.
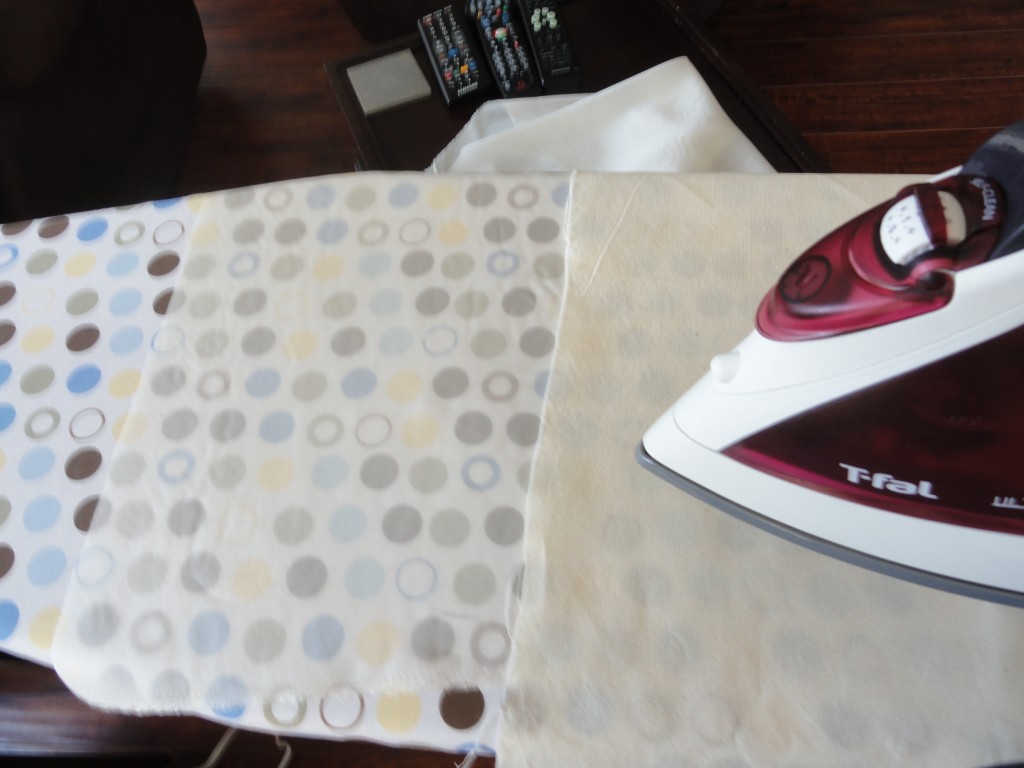
Step 6: Iron your lining and cut and assemble it the way you did above. Whenever I iron anything, I use a piece of muslin on top to avoid burning the fabric.
Next steps: Attaching the skirts to the bodices
Love!
Thanks!